DIY sandal resole is more than just a cost-effective solution—it’s a simple, eco-friendly way to keep your favorite footwear in top shape. Here’s a quick overview of what you need to know to get started:
- Clean the soles: Remove any dirt or debris.
- Prepare materials: Have contact cement, clamps, and a sharp knife on hand.
- Apply the new sole: Trace, cut, and glue the replacement material in place.
- Dry and trim: Let the glue set, then trim excess material for a perfect fit.
Reviving your sandals not only saves money but also reduces waste, aligning with your commitment to sustainability.
I’m Eric Neuner, the founder of NuShoe Inc. Since 1994, I’ve overseen the repair of millions of shoes, focusing on maintaining quality and extending the life of footwear. My experience ensures that your diy sandal resole journey is smooth and successful, preparing you to dive into a detailed guide in the next section.

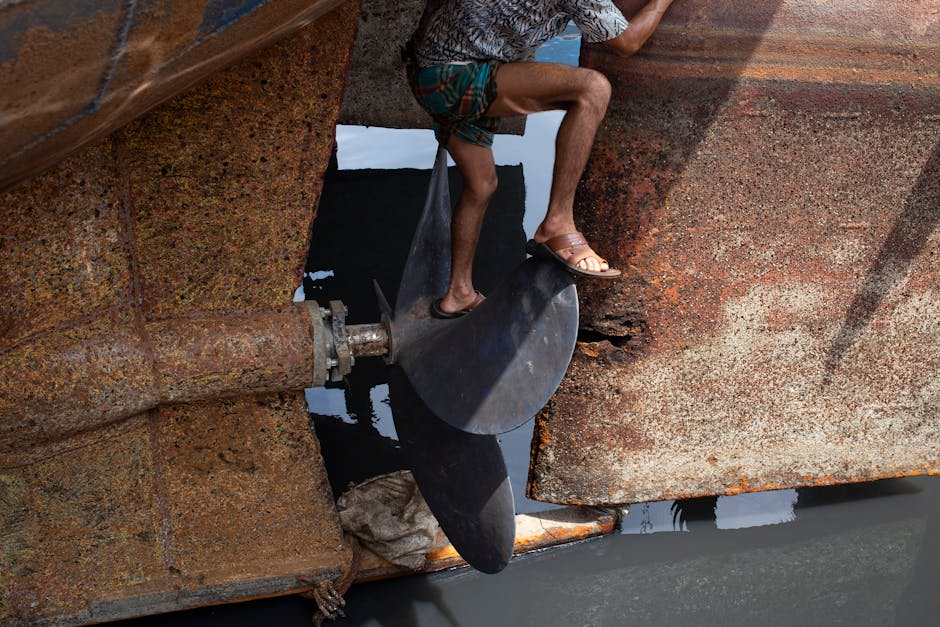
DIY Sandal Resole: Getting Started
Starting on a DIY sandal resole is a rewarding and cost-effective project. Not only does it save you money, but it also contributes to a more sustainable lifestyle by extending the life of your favorite footwear. Here’s how you can get started with this eco-friendly endeavor.
Gather Your Supplies
Before you begin, have the right shoe repair supplies. Here’s a quick checklist to get you started:
- Contact Cement: Essential for a strong bond between the old and new soles.
- Replacement Sole Material: Foam from interlocking floormats works well for sandals.
- Sharp Knife: An electric turkey knife is excellent for cutting soft foam.
- Clamps: To hold everything in place while the glue sets.
- Sandpaper: For roughening the surfaces to ensure better adhesion.
Having these items ready will make the process smoother and more efficient.
Cost-Effective and Eco-Friendly
Repairing sandals yourself is not only budget-friendly but also supports sustainability. By choosing to resole rather than replace, you help keep shoes out of landfills. As Eric Neuner, founder of NuShoe Inc., emphasizes, “Preserving beloved footwear extends its life and keeps landfills a little less crowded.”
Steps to Success
-
Clean the Soles: Start by removing any dirt or debris to ensure a clean surface for the new sole.
-
Trace and Cut: Use the old sole as a template to trace and cut the new material. Leave a little extra around the edges for adjustments.
-
Apply Contact Cement: Carefully apply the glue to both the new and old soles. Let it dry until it has a matte look before pressing them together.
-
Clamp and Dry: Use clamps or heavy books to ensure a secure fit while the glue sets. This step is crucial for a durable repair.
-
Trim Excess Material: Once dry, trim any excess material for a neat finish.
By following these steps, you can confidently tackle a DIY sandal resole and enjoy your refreshed sandals for many more seasons. Up next, we’ll dig into a detailed step-by-step guide to ensure your resole project is a success.
Step-by-Step Guide to Resoling Sandals
Ready to breathe new life into your sandals? Follow this step-by-step guide to successfully resole your sandals at home. This guide will walk you through the entire process, ensuring your footwear is comfortable and durable once again.
1. Flatten Soles
Begin by preparing the bottom of your sandals. If the soles are uneven or worn down, consider using a belt sander or disk sander with coarse grit to flatten them. This step is crucial for ensuring a smooth surface for the new sole material to adhere to. If your sandals are already flat, you can skip this step.
2. Trace and Cut
Place your sandal on the new sole material, such as foam from interlocking floormats, and trace around it tightly. Use a sharp knife, like an electric turkey knife, to cut out the new soles. Leave a bit of extra material around the edges to allow for adjustments.
3. Contact Cement
Contact cement is your best friend in this process, but handle it with care. Apply the cement to both the old and new soles, ensuring even coverage. Use it in a well-ventilated area and wear a mask to avoid inhaling fumes. Wait for the glue to dry until it has a matte appearance before proceeding.

4. Apply Glue
Once the contact cement is ready, carefully align the new sole with the old one. This is a critical step—if the soles touch prematurely, you might have to start over. Once aligned, press them together firmly.
5. Sole Mates
Ensure the new and old soles are perfectly aligned before pressing them together. Use clamps or heavy books to hold the soles in place while the glue sets. This step is vital to achieve a strong bond and prevent any shifting.
6. Trim Edges
After the glue has dried, typically after 24 hours, use a sharp utility knife to trim any excess material from the edges of the soles. This will give your sandals a clean, finished look.
7. Finish Grind
Finally, use sandpaper or a belt sander to smooth out the edges and ensure a snug fit. This finishing touch will help your sandals look and feel as good as new.
By following these steps, you can successfully complete a DIY sandal resole project, extending the life of your favorite sandals and contributing to a more sustainable lifestyle. Up next, we’ll explore the essential tools and materials needed for this process.
Essential Tools and Materials
Before you start on your DIY sandal resole journey, gathering the right tools and materials is crucial. This section outlines everything you’ll need to make the process smooth and effective.
Contact Cement
Contact cement is the adhesive of choice for resoling sandals. It’s strong and flexible, making it perfect for bonding the new sole to your sandal. Always apply it to both surfaces—old and new soles—and let it dry until it becomes tacky. Remember to work in a well-ventilated area to avoid inhaling harmful fumes.
Foam
For the new soles, foam is a popular choice due to its lightweight and cushioning properties. Interlocking foam floor mats are a cost-effective option. They are easy to cut and provide excellent comfort underfoot. Ensure the foam you choose is dense enough to withstand wear and tear.
Electric Turkey Knife
Cutting foam can be tricky, but an electric turkey knife makes it easier. This tool slices through foam cleanly, allowing you to create precise cuts for your new soles. If you don’t have one, a sharp utility knife can also do the job, though it might require more effort.
Sandpaper
Once you’ve attached the new soles, you’ll need sandpaper to smooth the edges. Start with coarse grit to remove excess material, then switch to a finer grit for a polished finish. Sandpaper is also handy for prepping the old soles, ensuring a better grip for the contact cement.
Clamps
Clamps or heavy books are essential for holding the soles in place while the glue dries. This ensures a strong bond and prevents any movement that could weaken the adhesive. Leave the clamps on for at least 24 hours for the best results.

With these tools and materials at your disposal, you’re well-prepared to tackle a DIY sandal resole. Up next, we’ll share some tips on maintaining your sandals to keep them in top shape.
Tips for Maintaining Your Sandals
Keeping your sandals in great condition is easier than you might think. With just a few simple steps, you can extend their life and keep them looking fresh.
Leather Conditioner
If your sandals are made of leather, regular conditioning is a must. A good-quality leather conditioner keeps the leather soft and prevents cracks. Apply it sparingly with a soft cloth, and make sure to work it into the leather evenly. This not only keeps the material supple but also improves its appearance. Regular conditioning can make a huge difference in how long your sandals last.
Regular Cleaning
Dirt and grime can cause long-term damage to your sandals. Regular cleaning helps prevent this. Use a soft brush or damp cloth to remove surface dirt. For stubborn stains, a mild soap can be effective. Just be sure to rinse thoroughly and let them dry naturally. Avoid direct sunlight or heat sources, as these can warp or damage the materials.
Proper Storage
Proper storage is key to maintaining your sandals. Keep them in a cool, dry place away from direct sunlight. If possible, use a shoe rack or box to prevent them from getting squished or misshapen. For leather sandals, consider using cedar shoe trees, which help maintain their shape and absorb moisture.
By following these simple tips, you’ll keep your sandals looking and feeling great for seasons to come. Up next, we’ll address some frequently asked questions about DIY sandal resole.
Frequently Asked Questions about DIY Sandal Resole
Can you resole a sandal?
Absolutely! Resolving a sandal involves replacing the worn-out sole while keeping the existing heel base intact. This process can be done at home or by a professional cobbler. A cobbler can expertly attach a new sole, whether it’s leather or rubber, ensuring your sandals have a fresh start. However, if you’re up for a challenge, you can try it yourself with the right tools and a bit of patience.
Can you resole shoes yourself?
Yes, you can! Many people choose to resole shoes themselves to save money and extend the life of their footwear. For leather-soled shoes, you will need specific materials like leather patches and strong adhesives. Rubber soles might require different tools, such as a utility knife and contact cement. Hand tools like clamps can help ensure a secure fit. With careful attention to detail, you can successfully give your sandals a new lease on life.
How do you fix a broken sandal sole?
Fixing a broken sandal sole is simpler than it sounds. Start by cleaning the area thoroughly to remove any dirt or debris. Next, apply a strong adhesive to both the new and old surfaces. Press the pieces together firmly, ensuring they align perfectly. Use clamps or heavy books to hold them in place while the glue sets. This method helps secure the sole and ensures your sandals are ready for more trips.
By addressing these common questions, you’ll be better prepared to tackle your own DIY sandal resole project. Up next, we’ll dive into the tools and materials you’ll need for a successful resole.
Conclusion
At NuShoe, we believe in the power of handcrafted shoe renewal. With over 5 million pairs of shoes repaired since 1994, our expertise in sandal repair is second to none. We take pride in offering a sustainable alternative to shoe disposal, helping you extend the life of your favorite footwear and reduce waste.
Choosing to repair rather than replace your sandals is not just a practical decision—it’s a commitment to sustainability. Every pair of sandals we repair stays out of the landfill, contributing to a healthier planet. By opting for a DIY sandal resole, you’re not only saving money but also embracing a more eco-friendly lifestyle.
Our team of skilled craftsmen is ready to assist with any sandal repair needs you might have. Whether you’re tackling a project on your own or need professional help, we’re here to support you every step of the way. Visit our sandal repair service page to learn more about how we can help you walk in comfort and style.
Together, let’s take steps towards a more sustainable future. Your sandals—and the planet—will thank you.