Introduction
Heel repair for boots is a crucial skill that every shoe enthusiast should understand. Whether your heels are scuffed, broken, or worn down, knowing how and when to fix them can extend the life of your favorite footwear and save you money in the long run.
Quick answer:
– Can a boot heel be repaired? Yes! Both minor and major heel damages can be fixed, often by a skilled cobbler.
– When to replace your boot heel: Replace it when you notice significant wear, structural damage, or discomfort while walking.
– DIY or professional help? Both options are viable, but complex repairs may require professional services like those offered by NuShoe.
Understanding heel damage is the first step. The heel bears much of your daily activities, making it prone to wear and tear. Ignoring heel damage can lead to discomfort, imbalance, and even injuries. Keeping your boots in good shape is not just a matter of aesthetics but also of your overall foot health.
If you are keen on maintaining the quality and longevity of your boots, this guide will walk you through essential DIY repair tips. By following our detailed steps, you can fix various heel issues yourself. And for those more complex repairs, we’ll highlight when to seek professional help—ensuring your boots stay in top shape for years to come.

Assessing the Damage
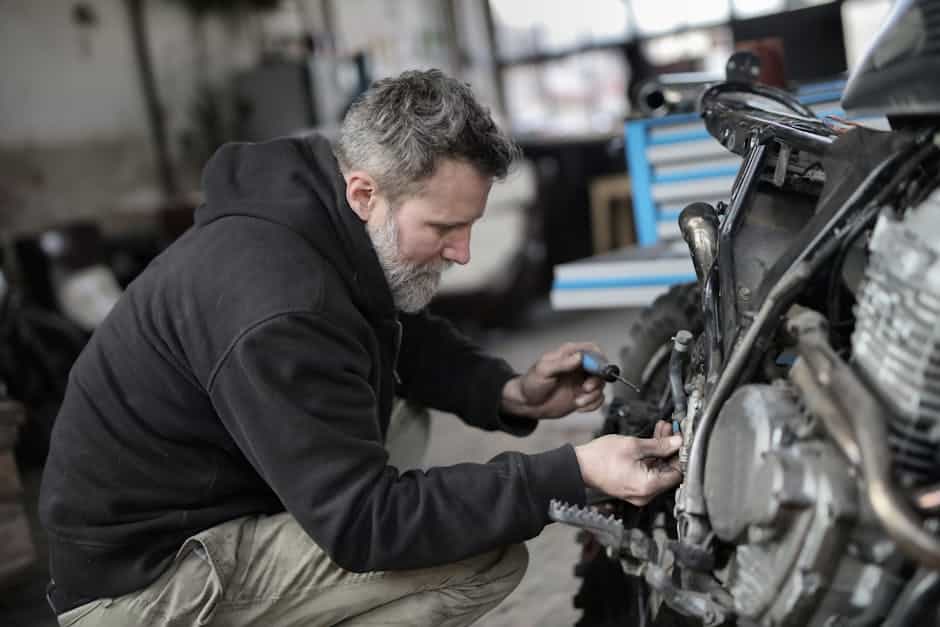
Before diving into heel repair for boots, it’s crucial to assess the damage. Knowing the extent of the wear will help you decide whether a DIY fix is possible or if professional help is needed. Let’s break down the process into two key parts: visual inspection and identifying types of heel damage.
Visual Inspection
Start with a thorough visual inspection of your boot heels. Look for obvious signs of wear and tear, such as:
- Worn-out rubber: If the rubber layer is thin or missing, it’s time to act.
- Cracked leather: Cracks in the leather heel stack indicate deeper damage.
- Loose or broken heel: A heel that wobbles or has separated from the sole needs immediate attention.
Use a good light source and, if necessary, a magnifying glass to inspect every angle. This will help you catch minor issues before they become major problems.
Types of Heel Damage
Understanding the type of damage your boots have will guide your repair strategy. Here are common types of heel damage:
- Surface Wear:
- Rubber Heel Cap Wear: This is the most common type of damage. If caught early, a simple rubber replacement can fix it.
-
Leather Scuffs: Surface scuffs on the leather heel stack can be buffed out or dyed.
-
Structural Damage:
- Cracked Heel Stack: When the leather layers in the heel stack start to crack, it indicates significant wear. This often requires a complete heel replacement.
-
Detached Heel: A heel that has separated from the sole needs to be reattached, often with strong adhesive or nails.
-
Broken Heel:
- Snapped Heel: This is rare but severe. If the heel has snapped, it’s best to consult a professional cobbler. DIY solutions might not hold up under daily use.
Real-Life Examples
Let’s look at a few real-life scenarios:
-
Case Study: A Reddit user shared a story about finding a pair of cowboy boots with the heel almost completely detached. They were able to fix them using strong adhesive and some DIY techniques, saving the boots from the trash pile. Source
-
Expert Tip: NuShoe, a well-known shoe repair service, often sees boots with worn-out rubber heels. They recommend getting the rubber replaced before it wears through to the leather, which can save you money in the long run. Source
By understanding the type and extent of the damage, you can make an informed decision on whether to proceed with a DIY repair or seek professional help. Up next, we’ll dive into the tools and materials you’ll need for a successful DIY heel repair.
Tools and Materials for DIY Heel Repair
To successfully repair the heels of your boots, you’ll need a few essential tools and materials. Here’s a list of what you’ll need:
Glue
Glue is vital for attaching the new leather wrap to the heel. Shoe Goo or E6000 are popular choices among DIY enthusiasts. They provide a strong bond and are readily available at stores like Target and Walmart.
Mink Oil
Mink oil is used to condition and waterproof the leather. This oil soaks into the leather, making it softer and more durable. It also adds a subtle shine, enhancing the overall look of your boots. Applying mink oil regularly can extend the life of your boots.
Leather Wrap
The leather wrap is the material you’ll use to cover the heel. You can buy pre-cut leather wraps or purchase a section of leather and cut it yourself. Staining the leather to match your boots’ color is essential for a seamless repair.
Sandpaper
Sandpaper, specifically 150-grit, is used to smooth out the heel surface after removing the old wrap. This ensures that the new leather adheres properly. Sanding removes old glue and any rough patches, creating a clean surface for the new wrap.
Exacto Knife
An Exacto knife is crucial for cutting the leather wrap to the correct size and shape. It allows for precise cuts, ensuring a snug fit around the heel. Always use a sharp blade to make clean cuts and avoid tearing the leather.
Additional Supplies
- Tape Measure: To measure the length of leather needed.
- String: Useful for measuring curved surfaces.
- Cardboard: To create patterns for cutting the leather.
By gathering these tools and materials, you’ll be well-prepared to tackle your DIY heel repair project. Up next, we’ll guide you through the step-by-step process to restore your boots to their former glory.
Step-by-Step Guide to Heel Repair
Preparing the Heel
Removing the Old Wrap
Start by removing the old leather wrap from the heel. Some parts may come off easily, while others might need a bit of coaxing with an Exacto knife. Be patient and thorough.
Sanding
Once the old wrap is off, sand the heel using 150-grit sandpaper. This removes any leftover glue and rough patches, ensuring a smooth surface for the new wrap.
Measuring Leather
Use a piece of string to measure around the heel. This helps you determine how much leather you’ll need. For example, if you need 5 inches for each heel, cut a 10.5-inch piece to account for both.
Applying the New Heel Wrap
Cutting Leather
Cut your leather into two equal pieces based on your measurements. This ensures you have enough material to cover both heels.
Dyeing
Before applying the leather, dye it to match the color of your boots. Apply two light coats of dye for an even finish. Avoid heavy coats as they can weaken the glue bond.
Gluing
Apply glue liberally to the center of the heel. Start attaching the leather from the back of the heel, pulling and stretching it around to the sides. Add more glue if needed. Hold it in place for a few minutes, then clamp with a spring clamp for about an hour.
Trimming
Once the glue is dry, trim the excess leather. Leave about 1/4 inch around the heel for a rough cut. Use a sharp knife to make clean, precise cuts. Push the knife in the direction that presses the leather towards the heel to avoid peeling it off.
Finishing Touches
Mink Oil Application
Apply mink oil to the entire heel wrap. This helps waterproof and protect the leather. It also adds a soft shine, making your boots look almost new.
Dyeing Edges
After trimming, dye the cut edges to match the rest of the heel wrap. This gives a polished, professional look.
By following these steps, you can save your favorite boots from the trash and make them look great again. The next section will explore the pros and cons of DIY heel repair versus seeking professional help.
Professional Repair vs. DIY
Cost Comparison
When it comes to heel repair for boots, cost is a crucial factor. DIY repairs can be quite affordable. For example, a sole replacement kit costs around $24.99, while a tube of PL Premium polyurethane construction adhesive might set you back just $3.99. These materials can repair multiple pairs of boots, making DIY a budget-friendly option.
However, professional repairs offer a level of craftsmanship that’s hard to match at home. Typically, repairing boot heels at a cobbler costs between $10 and $40, depending on the type of boot and extent of damage. For high-end boots, a full heel replacement could climb up to $60. While this might seem pricey, consider the longevity and quality of the repair.
When to Seek Professional Help
DIY repairs are excellent for minor fixes, but there are times when professional help is necessary:
- Extensive Damage: If your boots have severe damage, like a completely detached heel, it’s best to consult a professional.
- High-End Boots: For expensive or designer boots, professional repairs ensure you maintain their value and quality.
- Special Materials: Boots made from delicate or unique materials might require specialized tools and expertise.
One customer from Charleston, South Carolina, shared that investing in sole guard protection for just $15 significantly extended the lifespan of their shoes. This kind of preventative care is often best handled by professionals.
NuShoe
If you’re looking for reliable and affordable heel repair, NuShoe is a top choice. Since 1994, NuShoe has been a leader in handcrafted shoe renewal. They’ve repaired over 5 million pairs of shoes, including countless boot heels.
Exclusive Repair Programs
NuShoe is the authorized refurbishing company for several national brands, including Ariat, Birkenstock, and UGG. This means you can trust them with your premium brand boots.
Commitment to Sustainability
NuShoe is committed to environmental responsibility. By choosing their renewal services, you’re not just saving your boots—you’re also reducing waste and supporting sustainable practices.
For more information, check out NuShoe’s exclusive repair programs.
In the next section, we’ll answer some frequently asked questions about heel repair for boots.
Frequently Asked Questions about Heel Repair for Boots
Can boots heels be repaired?
Yes, boot heels can be repaired. Catching the damage early, before it wears through the rubber, is key. A skilled cobbler can replace just the rubber part or the entire heel if necessary. Regularly checking the condition of your boot heels can help you detect wear and tear early.
How much does it cost to replace boot heels?
The cost to replace boot heels can vary widely. On average, you might expect to pay between $20 to $60, depending on your location and the extent of the damage. For example, getting new soles put on a pair of Thorogood boots cost $120 CAD. It’s always best to get an estimate from your local cobbler to avoid surprises.
Can walking boot heels be repaired?
Absolutely, walking boot heels can be repaired. Whether it’s a minor fix like replacing a heel tip or a more significant repair such as replacing the entire heel, a cobbler can handle it. It’s often more cost-effective to repair your walking boots than to replace them entirely, especially if they are high-quality or have sentimental value.
For more detailed information on boot heel repair and other services, check out NuShoe’s repair services.
Conclusion
Repairing the heels of your boots is not just a way to save money—it’s also a sustainable choice that reduces waste. By opting for heel repair for boots, you extend the life of your favorite footwear and keep them out of the landfill. This is especially important in a world where fast fashion often leads to excessive waste.
At NuShoe, we take pride in our expertise in shoe repair. We’ve repaired over 5,000,000 pairs of shoes since 1994, and our skilled cobblers can handle everything from simple heel cap replacements to complex refurbishments. Our customers rave about the quality of our work and the money they save by choosing repair over replacement.
One customer from Charleston, South Carolina, highlighted the value of our sole guard protection service, which costs just $15 and significantly extends the lifespan of their boots. Another customer from San Diego, California, praised our affordable heel replacement service, which restored their athletic shoes to near-new condition for only $20.
Choosing NuShoe for your heel repair for boots means you’re making a wise investment in both your footwear and the environment. Our commitment to quality and sustainability ensures that your boots will continue to serve you well for years to come.
Ready to give your boots a new lease on life? Visit our boot repair services page to get started today!