How to repair shoe sole might seem like a daunting task, but it’s easier than you think and can extend the life of your favorite shoes. Quick answer: Clean the area, apply shoe sole adhesive, press parts together, and let dry for 24 hours.
Repairing your shoes isn’t just about saving money. It’s also a nod to sustainability. By fixing worn-out soles, you’re keeping your shoes out of landfills and reducing waste.
Here’s a simple guide to get you started:
1. Clean the Area: Use water and rubbing alcohol.
2. Apply Adhesive: Opt for Bostik Fix & Glue, Loctite Shoe Glue, or Shoe Goo.
3. Press and Secure: Use duct tape or string to hold parts together.
4. Dry and Finish: Allow 24 hours for drying, then trim any excess adhesive.
I’m Eric Neuner, founder of NuShoe Inc. With over 29 years in the shoe repair industry, I’ve overseen the renewal of millions of pairs. It’s our mission to provide top-notch, handcrafted shoe solutions.

How to Repair a Shoe Sole
Fixing a shoe sole isn’t rocket science, but it does require some care and attention. Here’s a step-by-step guide to get your shoes back in shape.
Cleaning the Area
Before you start with the adhesive, make sure the area is clean.
- Mix warm water and rubbing alcohol.
- Use a cotton swab to apply this mixture to the sole and the shoe.
- Scrub gently to remove dirt and old adhesive.
A clean surface ensures the adhesive sticks properly.
Applying the Adhesive
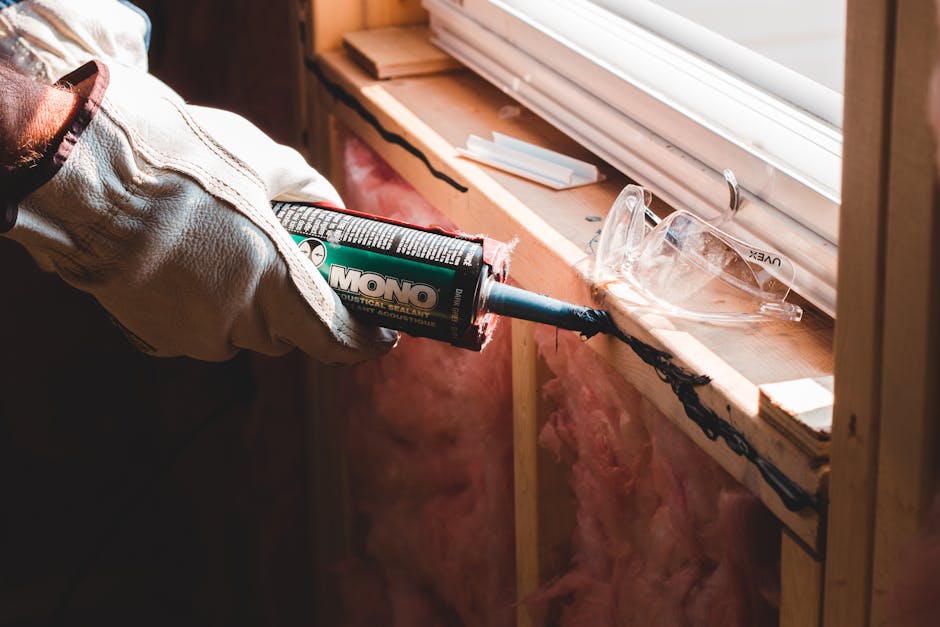
Choosing the right adhesive is crucial. Bostik Fix & Glue, Shoe Goo, and Loctite Shoe Glue are excellent options.
- Apply a thick layer of adhesive to the sole.
- Follow the instructions on the adhesive product. Some adhesives, like Shoe Goo, may need a few minutes to cure before pressing the parts together.

Pressing and Securing
Once the adhesive is applied, it’s time to press and secure the parts together.
- Press the sole firmly against the shoe.
- Secure the parts using duct tape, string, rubber bands, or clamps. This will keep everything tightly in place while the adhesive dries.

Drying and Finishing
Patience is key here. Allow the adhesive to dry thoroughly.
- Wait at least 24 hours for the adhesive to fully cure.
- Remove any securing materials like tape or clamps.
- Sand off any overflow adhesive using 120-grit sandpaper. This will give your shoe a clean finish.
By following these steps, you can effectively repair your shoe sole and extend the life of your footwear. Now, let’s dive into some common shoe sole issues and their solutions.
Common Shoe Sole Issues and Solutions
Replacing Worn-Out Soles
Worn-out soles are a common issue, especially for shoes that see a lot of use. When the sole is worn down, it can affect the comfort and safety of the shoe.
Steps to Replace Worn-Out Soles:
- Heat the Glue: Use a heat gun or hair dryer to warm up the glue attaching the old sole. This makes it easier to remove.
- Remove the Old Sole: Gently peel off the old sole. You might need to use a flat tool to help pry it off.
- Clean the Surface: Ensure the shoe’s bottom is clean and free of old adhesive.
- Apply New Adhesive: Use a sole adhesive for a strong bond.
- Attach the New Sole: Press the new sole firmly onto the shoe. Make sure it aligns correctly.
- Secure the Sole: Use clamps, rubber bands, or tape to hold the sole in place while the adhesive cures.
- Let It Dry: Allow the adhesive to dry for at least 24 hours before wearing the shoes.
Reattaching Loose Soles
Loose soles can make walking uncomfortable and even dangerous. Reattaching them is straightforward if you follow these steps.
Steps to Reattach Loose Soles:
- Clean the Area: Clean both the shoe and the loose sole with a mixture of water and isopropyl alcohol.
- Apply Adhesive: Use a sole adhesive for a secure bond.
- Wait for Curing: Allow the adhesive to cure for a few minutes before pressing the parts together.
- Press the Sole: Press the sole firmly against the shoe.
- Secure the Sole: Use tape, rubber bands, or clamps to hold the sole in place while the adhesive cures.
- Drying Time: Allow the adhesive to dry for 24 hours.
Filling Holes in Soles
Holes in the soles can let water and debris into your shoes. Patching these holes can extend the life of your shoes significantly.
Steps to Fill Holes in Soles:
- Clean the Area: Make sure the area around the hole is clean and free of dirt.
- Prepare the Patch: If using a bike tire repair kit, cut the patch to fit the hole.
- Scuff the Surface: Use a rasp or sandpaper to roughen the surface of the hole and the patch. This helps the adhesive bond better.
- Apply Rubber Cement: Apply a waterproof glue to both the hole and the patch. Let it sit for a few minutes to get tacky.
- Attach the Patch: Press the patch firmly onto the hole. Hold it in place for a few minutes.
- Add Layers: If needed, add a second layer of patch to ensure the hole is completely covered.
- Let It Set: Allow the cement to cure for several hours before using the shoe.
Best Products for Shoe Sole Repair
When it comes to repairing shoe soles, using the right product can make all the difference. NuShoe can help you get the job done effectively.
DIY vs Professional Shoe Repair
When to DIY
Repairing your shoe sole yourself can be a cost-effective and rewarding experience, especially for minor issues like loose soles or small holes. Here are some tips and scenarios where DIY is a good option:
-
Loose Soles: If the sole is starting to detach but is otherwise in good condition, you can easily fix it.
-
Minor Repairs: For small cracks or tiny holes, a simple DIY kit can be effective. Clean the area, apply the adhesive, and press a patch over the damage.
-
Cost-Saving: DIY repairs can be significantly cheaper than professional services. But NuShoe offers affordable services for various repair needs.
-
Quick Fixes: If you’re in a hurry, DIY is the way to go.
DIY Tip: Always clean the area thoroughly before applying any adhesive. Use water and rubbing alcohol to remove dirt and oils, ensuring a strong bond.
When to See a Professional
While DIY repairs are great for minor issues, some situations call for the expertise of NuShoe’s professional repair services. Here’s when you should consider professional help:
-
Complete Sole Replacement: If the entire sole is worn out, it’s best to see a professional at NuShoe. They have the right tools and materials to replace the sole completely, ensuring a perfect fit and long-lasting repair.
-
High-Quality Shoes: For expensive or high-quality shoes, professional repair is worth the investment. NuShoe provides expert care for luxury footwear, ensuring top-notch service and results.
-
Expert Tools: NuShoe professionals have specialized tools that can handle complex repairs, like re-stitching leather or adding new eyelets. These tools ensure a professional finish that DIY methods can’t match.
-
Long-Term Durability: Professional repairs at NuShoe use higher-quality materials and techniques, making them more durable and reliable.
In summary, DIY repairs are perfect for minor issues and quick fixes, saving you money and time. However, for complete sole replacements, high-quality shoes, or complex repairs, professional help from NuShoe is the best route.
Frequently Asked Questions about Shoe Sole Repair
How do you fix a damaged sole?
Fixing a damaged sole involves a few simple steps:
-
Cleaning the Area: Start by cleaning the sole with water and a bit of rubbing alcohol. Use a cotton swab to get into small areas. This ensures the adhesive will stick properly.
-
Applying the Adhesive: Choose a good adhesive like Bostik Fix & Glue, Shoe Goo, or Loctite Shoe Glue. Apply a thick layer of adhesive to the damaged area using a toothpick or cotton swab.
-
Securing the Parts: Press the sole against the shoe. Use duct tape, string, rubber bands, or clamps to hold the parts together while the glue dries. This keeps the sole and shoe tightly bonded.
-
Drying Time: Let the adhesive dry for 24 hours. After it’s dry, sand off any overflow adhesive with 120-grit sandpaper for a smooth finish.
What is the best glue for a shoe sole?
The best glue for a shoe sole depends on your needs:
-
Loctite Shoe Glue: Known for its flexible formulation, it works on a variety of materials.
-
Shoe Goo: This adhesive is waterproof, flexible, and long-lasting, making it a favorite for many.
-
Bostik Fix & Glue: This instant glue forms a strong bond quickly and is resistant to moisture, ideal for rubber or plastic soles.
Is it worth it to repair shoe sole?
Yes, repairing a shoe sole is often worth it for several reasons:
-
Cost-Effectiveness: Repairing a sole is usually much cheaper than buying a new pair of shoes. For instance, a small tube of Shoe Goo costs just a few dollars.
-
Prolonging Shoe Life: Simple repairs can extend the life of your favorite shoes significantly. A well-done repair can make your shoes feel almost new again.
-
Sustainability: Repairing shoes reduces waste and is better for the environment. As noted by The Cobblers, “We save your shoes from their tragic death,” helping to avoid further clogging up landfills.
Repairing your shoe soles is a smart, sustainable choice that keeps your footwear in circulation and out of the trash.
Conclusion
At NuShoe, we believe in the art of handcrafted renewal. We’ve repaired over 5,000,000 pairs of shoes since 1994, proving that sustainability and quality craftsmanship can go hand in hand.
Repairing your shoe sole not only saves you money but also contributes to a more sustainable world. As The Cobblers put it, “We save your shoes from their tragic death,” which helps reduce landfill waste and promotes a circular economy.
By choosing to repair rather than replace, you’re extending the life of your footwear. This means your favorite shoes can continue to provide comfort and style for many more years.
Ready to give your shoes a new lease on life? Trust NuShoe’s expert repair services to bring your worn-out footwear back to its former glory.
Repairing shoes is not just about fixing a problem; it’s about making a positive impact on the environment and valuing quality over disposability. Let’s keep our shoes—and our planet—going strong.

