Introduction
How to repair a rubber boot is a question many of us ask once we see those dreaded cracks or punctures. Quick fixes can often save the day. Here’s a summary:
- Clean and dry the area.
- Use adhesives like Aquaseal SR or rubber cement.
- Apply a patch for larger holes.
- Allow to dry and condition the boots afterward.
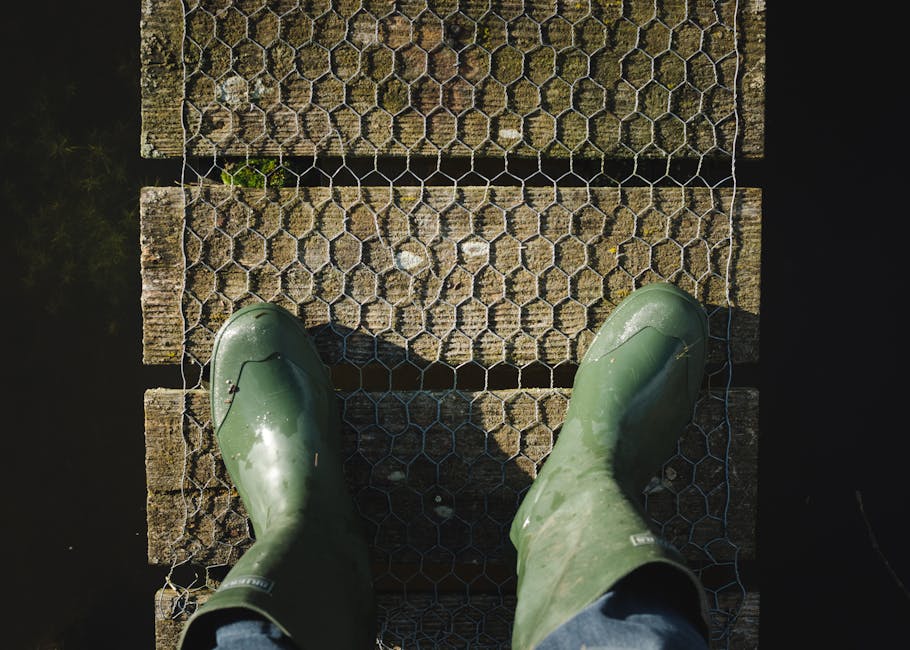
Rubber boots are a trusty accessory for rainy days, gardening, or outdoor work. However, even the most durable pair can suffer from cracks or holes. Repairing your boots not only restores their functionality but also extends their lifespan, making it an important skill to have.
Repairing rubber boots is a sustainable choice. Instead of discarding damaged boots, fixing them helps reduce waste and promotes a more eco-friendly lifestyle. Plus, it saves you the cost of buying a new pair!
Let’s dive deeper into how you can easily repair your rubber boots at home, ensuring they remain in top shape for your next adventure.

Identifying the Damage
Before diving into how to repair a rubber boot, it’s crucial to identify the type and extent of the damage. This helps you choose the right repair method and products. Here are the common types of damage you might encounter:
Cracks
Cracks in rubber boots are often a result of the rubber drying out or aging. These can appear as small fissures or larger splits. Cracks typically occur in high-flex areas, like the ankle or the top of the foot, where the boot bends the most.
Pro Tip: Regular conditioning can prevent cracks by keeping the rubber supple. Once cracks appear, they can often be fixed with products like Aquaseal SR or Shoe Goo.
Holes
Holes are another common issue, especially if you frequently wear your boots in rough terrain. Holes can range from tiny punctures to larger tears. They often occur in the sole or lower parts of the boot, which endure the most wear and tear.
Case Study: A Reddit user successfully repaired multiple cracks in their rubber boots using Aquaseal SR. They noted that only one crack reopened, which they fixed with a second application. This highlights the importance of thorough application and possibly multiple layers for larger holes.
High-Wear Areas
High-wear areas are parts of the boot that experience the most friction and movement. These include:
- Ankles: Where the boot flexes the most.
- Soles: Constant contact with the ground can lead to wear and punctures.
- Seams: These can split or come apart over time.
Fact: Keeping these areas clean and conditioned can significantly extend the life of your boots. Using rubber conditioners regularly can help maintain the integrity of high-wear areas.
Identifying the damage accurately allows you to tackle the repair process more effectively. Next, we’ll prepare your boots for repair to ensure the fix is durable and long-lasting.
Preparing Your Rubber Boots for Repair
Before diving into how to repair a rubber boot, it’s crucial to properly prepare your boots. This ensures that the repair is effective and lasts longer. Let’s break down the preparation steps: Cleaning, Drying, Sanding, and Masking Tape.
Cleaning
Start by cleaning your boots thoroughly. Use mild soap and water to remove dirt and grime. This is important because any debris can prevent adhesives from bonding properly.
Steps:
1. Mix mild soap with warm water.
2. Use a soft cloth or sponge to scrub the boots, paying special attention to the damaged areas.
3. Rinse with clean water to remove soap residue.
Tip: If there’s stubborn dirt, a soft toothbrush can help get into the crevices.
Drying
Once your boots are clean, they need to be completely dry before you proceed. Moisture can interfere with the adhesive and compromise the repair.
Steps:
1. Pat the boots dry with a towel.
2. Leave them in a well-ventilated area for several hours, or overnight, to ensure they are fully dry.
Important: Avoid using direct heat sources like hair dryers, as this can damage the rubber.
Sanding
Sanding the area around the crack or hole helps the adhesive bond better by creating a rough surface. Be gentle to avoid further damage.
Steps:
1. Use fine-grit sandpaper (around 120-200 grit).
2. Lightly sand the area around the damage. The goal is to roughen the surface, not to thin the rubber.
Note: Too much pressure can damage the rubber, so be gentle.
Masking Tape
Masking tape is essential to keep the adhesive confined to the damaged area. This makes the repair neater and more effective.
Steps:
1. Apply masking tape around the damaged area, leaving about ½ an inch of space from the edge of the crack or hole.
2. Make sure the tape is securely attached to avoid any adhesive leakage.
Pro Tip: Use painter’s tape if you don’t have masking tape. It’s easy to remove and leaves no residue.
By following these steps, you’ll ensure your boots are ready for repair, allowing the adhesive to bond effectively and last longer. Next, we’ll dive into the detailed steps on how to repair a rubber boot.
How to Repair a Rubber Boot: Step-by-Step Guide
Repairing Cracks
Cracks in your rubber boots can be frustrating, but they’re not the end of the world. Here’s how to fix them:
- Clean and Dry the Area: Make sure the crack is free from dirt and completely dry.
- Sand the Area: Lightly sand the area around the crack to create a rough surface for better adhesion.
- Apply Aquaseal SR: This shoe repair adhesive is perfect for rubber boots. Apply it generously over the crack, extending about 0.5 inches beyond the crack to ensure it doesn’t spread.
- Allow to Cure: Let the adhesive dry on a flat surface for about 30 minutes. Then, remove any masking tape and let it cure fully for 8-12 hours.
Pro Tip: Aquaseal SR is not just for cracks. It’s also great for fixing delaminated soles, building toe caps, and even flexible knee patches.
Repairing Holes
Small holes can be treated similarly to cracks, but larger holes require a bit more effort:
- Clean and Dry: Ensure the area around the hole is spotless and dry.
- Patch Kit: Use a rubber patch kit. Cut the patch slightly larger than the hole.
- Sand the Area: Roughen the area around the hole with sandpaper.
- Apply Adhesive: Even if the patch has adhesive, apply a layer of Aquaseal or a cyanoacrylate-based adhesive around the hole.
- Press and Smooth: Firmly press the patch over the hole, starting from the center and moving outward. Smooth any excess adhesive around the edges.
- Cure Time: Allow the adhesive to fully dry for 8-12 hours.
Pro Tip: For extra durability, consider using Shoe Goo. It’s flexible and waterproof, making it ideal for rubber repairs.
Special Techniques for Large Holes
Larger holes require a bit more finesse:
- Rubber Patches: Get a piece of rubber similar in color and texture to your boots. Cut it slightly larger than the hole.
- Sand and Clean: Sand the area around the hole and clean it thoroughly.
- Apply Adhesive: Spread Aquaseal or a strong adhesive around the hole and on the patch.
- Press Firmly: Place the patch over the hole and press firmly, ensuring there are no air bubbles.
- Sewing for Added Security: For large patches, sewing can provide extra security. Use heavy-duty thread and a needle suitable for rubber.
- Cure: Allow the adhesive to dry for 8-12 hours.
Pro Tip: After sewing, apply another layer of adhesive around the stitches to seal them and ensure waterproofing.
By following these steps, you can effectively repair cracks and holes in your rubber boots, extending their life and saving you money. Next, we’ll discuss how to care for your boots post-repair to keep them in top condition.
Caring for Your Rubber Boots Post-Repair
Once you’ve successfully repaired your rubber boots, it’s crucial to care for them properly to ensure they last as long as possible. Here are some essential tips for conditioning, dealing with blooming, and proper storage.
Conditioning Your Rubber Boots
Conditioning helps maintain the flexibility and durability of your rubber boots. It also prevents cracks from forming again. One excellent product for this is the Revivex Rubber Boot Treatment.
How to Condition:
-
Clean the Boots: Remove any dirt or mud using soap and water or a specialized cleaner like Revivex Boot and Shoe Cleaner.
-
Shake the Bottle: Shake the Revivex Rubber Boot Treatment bottle to mix the contents well.
-
Apply: Press down the sponge applicator and squeeze to saturate it. Spread a thin, even coat on the boot. For extra conditioning, apply a second coat.
-
Dry: Allow the boots to dry completely.
Pro Tip: Conditioning should be done at least every three to six months, depending on how frequently you use your boots and the conditions they are exposed to.
Dealing with Blooming
Blooming is the appearance of white marks or ashy streaks on rubber boots. This is a natural process where insoluble particles rise to the surface.
How to Remove Blooming:
-
Clean the Boots: Use soap and water or Revivex Boot and Shoe Cleaner to remove dirt and grime.
-
Apply Conditioner: Use the Revivex Rubber Boot Treatment as described above.
-
Scrub Stubborn Streaks: For tough blooming, use a brush to scrub the boots after applying the conditioner.
Proper Storage Tips
Storing your boots correctly can prevent unnecessary wear and tear. Here are some tips:
-
Dry Completely: Make sure your boots are completely dry before storing them. Moisture can lead to mold and deterioration.
-
Avoid Direct Sunlight: Store your boots in a cool, dry place away from direct sunlight, which can cause the rubber to degrade.
-
Maintain Shape: Stuff the boots with newspaper or boot trees to help them maintain their shape.
Using Revivex Treatment
Revivex Rubber Boot Treatment is not just for conditioning; it also helps prevent sun damage and keeps your boots looking new.
Steps to Use Revivex Treatment:
-
Clean the Boots: As always, start with clean boots.
-
Shake and Apply: Shake the bottle, press down the sponge, and apply a thin coat of the treatment.
-
Dry: Let the boots dry completely before using them again.
By following these care tips, you can ensure your rubber boots remain in excellent condition, extending their lifespan and saving you money. Up next, we’ll discuss how to prevent future damage to keep your boots in top shape for years to come.
Preventing Future Damage
Keeping your rubber boots in top shape isn’t just about fixing them when they break. Preventing future damage is key. Here are some simple steps you can take to keep your boots looking and performing their best.
Routine Maintenance
Routine maintenance is crucial for extending the life of your rubber boots. Here’s what you need to do:
- Regular Inspections: Check your boots for cracks, holes, and other signs of wear and tear. Early detection can prevent minor issues from becoming major problems.
- Immediate Repairs: Fix any small cracks or holes as soon as you notice them. This can prevent them from getting worse.
Proper Cleaning
Cleaning your boots properly can prevent the buildup of dirt and grime that can cause the rubber to deteriorate. Follow these steps for proper cleaning:
- Use Mild Soap and Water: Avoid harsh chemicals. Simply use mild soap and water to clean the surface of your boots.
- Remove Mud and Debris: After each use, especially in muddy conditions, make sure to remove all mud and debris. This helps prevent the rubber from drying out and cracking.
- Dry Completely: Always let your boots dry completely before storing them. This prevents mold and mildew, which can weaken the rubber.
Regular Conditioning
Rubber, like any other material, needs conditioning to stay flexible and durable. Here’s how to keep your boots conditioned:
- Use a Rubber Conditioner: Apply a rubber conditioner every couple of months. This helps keep the rubber soft and prevents it from cracking.
- Follow the Instructions: Each conditioner will have its own set of instructions. Generally, you’ll apply the conditioner with a cloth and let it sit overnight.
- Wipe Off Excess: Make sure to wipe off any excess conditioner to avoid a sticky residue.
By following these simple steps, you can significantly extend the life of your rubber boots. Routine maintenance, proper cleaning, and regular conditioning are your best defenses against future damage.
Next, let’s dive into some frequently asked questions about rubber boot repair.
Frequently Asked Questions about Rubber Boot Repair
Can Gorilla Glue be used on rubber boots?
Yes, Gorilla Glue can be used on rubber boots, but it’s not the best option. While it’s a strong adhesive, it’s not specifically designed for rubber and may not provide a flexible, durable repair. For the best results, we recommend using a rubber-specific adhesive like Aquaseal SR or Shoe Goo. These products are formulated to bond well with rubber and provide a waterproof, flexible seal.
Is it possible to fully restore the appearance of rubber boots?
Restoring the appearance of rubber boots depends on the extent of the damage. Small cracks and holes can often be repaired seamlessly with products like Aquaseal SR and rubber patches. For more extensive damage, the boots may never look brand new, but they can still be made functional and aesthetically pleasing.
Using a rubber conditioner can help restore the color and flexibility of the rubber. As one user on Reddit noted, regular conditioning with products like Revivex Rubber Boot Treatment can keep the rubber looking fresh and prevent future cracks.
How effective is Aquaseal for waterproofing repairs?
Aquaseal SR is highly effective for waterproofing repairs on rubber boots. It creates a strong, flexible bond that seals cracks and holes, ensuring your boots remain watertight. According to NuShoe, applying Aquaseal SR correctly involves:
- Cleaning the Area: Make sure the area around the damage is clean and dry.
- Applying the Adhesive: Cover the crack or hole completely, extending the adhesive at least ½ inch around the damage.
- Allowing it to Cure: Let the adhesive cure for up to 24 hours for maximum effectiveness.
This method ensures a durable repair that can withstand regular use and exposure to water.
Next, we’ll wrap up our guide by highlighting the benefits of choosing repair over replacement and the positive environmental impact of mending your rubber boots.
Conclusion
Repairing your rubber boots is not only a cost-effective solution but also a step towards a more sustainable lifestyle. By choosing repair over replacement, you save money and reduce waste, contributing to a healthier planet.
At NuShoe, we believe in the value of extending the life of your footwear. With our expert services, you can trust that your boots will be repaired to the highest standards. Check out our boot repair services to see how we can help you keep your boots in great shape.
Environmental benefits are another significant reason to repair your boots. Every pair of boots repaired means one less pair in the landfill. This simple act reduces the demand for new products and the resources needed to produce them.
By mending your rubber boots, you make a positive impact on your wallet and the environment. Let’s embrace a culture of repair and sustainability together.
For more information on how we can assist with your boot repair needs, visit our NuShoe Boot Repair Services page.