

Give Your Beloved Shoes a Second Chance
Are you tired of tossing out perfectly good shoes just because the inside heel is worn out? Knowing how to repair shoe heel lining can save your favorite pair and extend its life significantly.
Here’s a quick overview of how you can fix a damaged shoe heel lining:
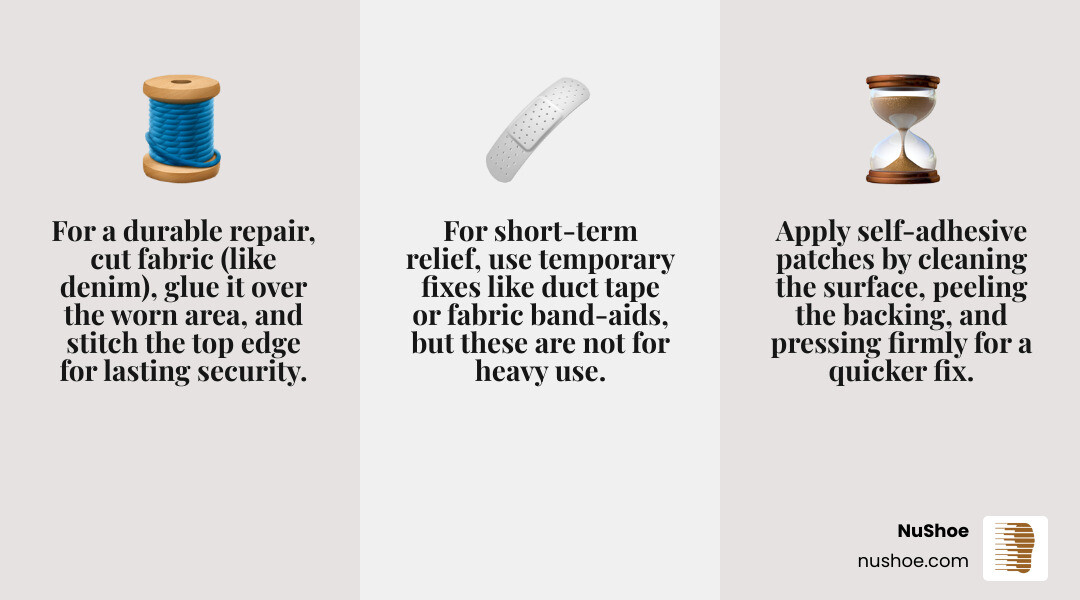
- Fabric Patch (Glue & Stitch): Cut a piece of durable fabric (like denim), glue it over the worn area, and stitch the top edge for a strong, lasting repair.
- Self-Adhesive Patches: Clean the area, peel the backing, and stick a specialized patch firmly into place for a quicker fix.
- Temporary Fixes: For a very short-term solution, duct tape or even fabric Band-Aids can cover small worn spots.
The heel lining is one of the most stressed areas of any shoe. With continuous use and regular wear and tear, it can rip apart, exposing the inner structure. This isn’t just an inconvenience; an exposed heel can cause discomfort, rubbing, and even injury. But it doesn’t mean your shoes are doomed for the landfill! Repairing them is a smart choice for your wallet and the environment.
I’m Eric Neuner, founder of NuShoe. Since 1994, I’ve been dedicated to providing the highest quality shoe repair, including expert solutions for how to repair shoe heel lining, helping millions of shoes find a second life.
Why Your Heel Lining Wears Out
Ever wonder why the inside of your shoes gives out before the rest? Understanding why your shoe heel linings wear out is the first step to keeping your footwear healthy. It’s usually a mix of a few key factors.
- Constant Friction: With every step, your heel rubs against the shoe’s lining. This constant motion acts like sandpaper, slowly wearing down the material. This process is faster if you’re active, which is why athletic shoes often show this wear first.
- Improper Fit: If your shoes are too big, your foot slides around, causing extra friction. If they’re too small, they create damaging pressure points that speed up wear. A snug, comfortable fit is crucial.
- Your Unique Stride: How your foot strikes the ground (your gait) can lead to uneven rubbing. Conditions like overpronation (foot rolling inward) or supination (foot rolling outward) create unique wear patterns and stress the heel lining.
- Shoe Removal Technique: Kicking off shoes without untying them puts a lot of stress on the heel area, stretching and tearing the lining over time. Taking a moment to untie your laces makes a big difference.
- Material Quality and Moisture: Thinner lining materials naturally wear down quicker. Additionally, sweat can weaken the fabric and the glues holding it in place, making it more prone to tearing.
Understanding these reasons is the first step in protecting your shoes and knowing when it’s time to learn how to repair shoe heel lining. A little knowledge goes a long way in keeping your favorite pairs healthy for longer. For even more tips on keeping your shoes in top shape, check out our ultimate guide to shoe repair.
How to Repair Shoe Heel Lining: A Step-by-Step DIY Guide
Ready to roll up your sleeves and give your shoes some much-needed TLC? Repairing your shoe heel lining is a rewarding project that can bring your favorite pair back from the brink. It’s a great way to save money and keep those beloved shoes out of the landfill! Let’s gather our supplies and get started.
Essential Tools and Materials
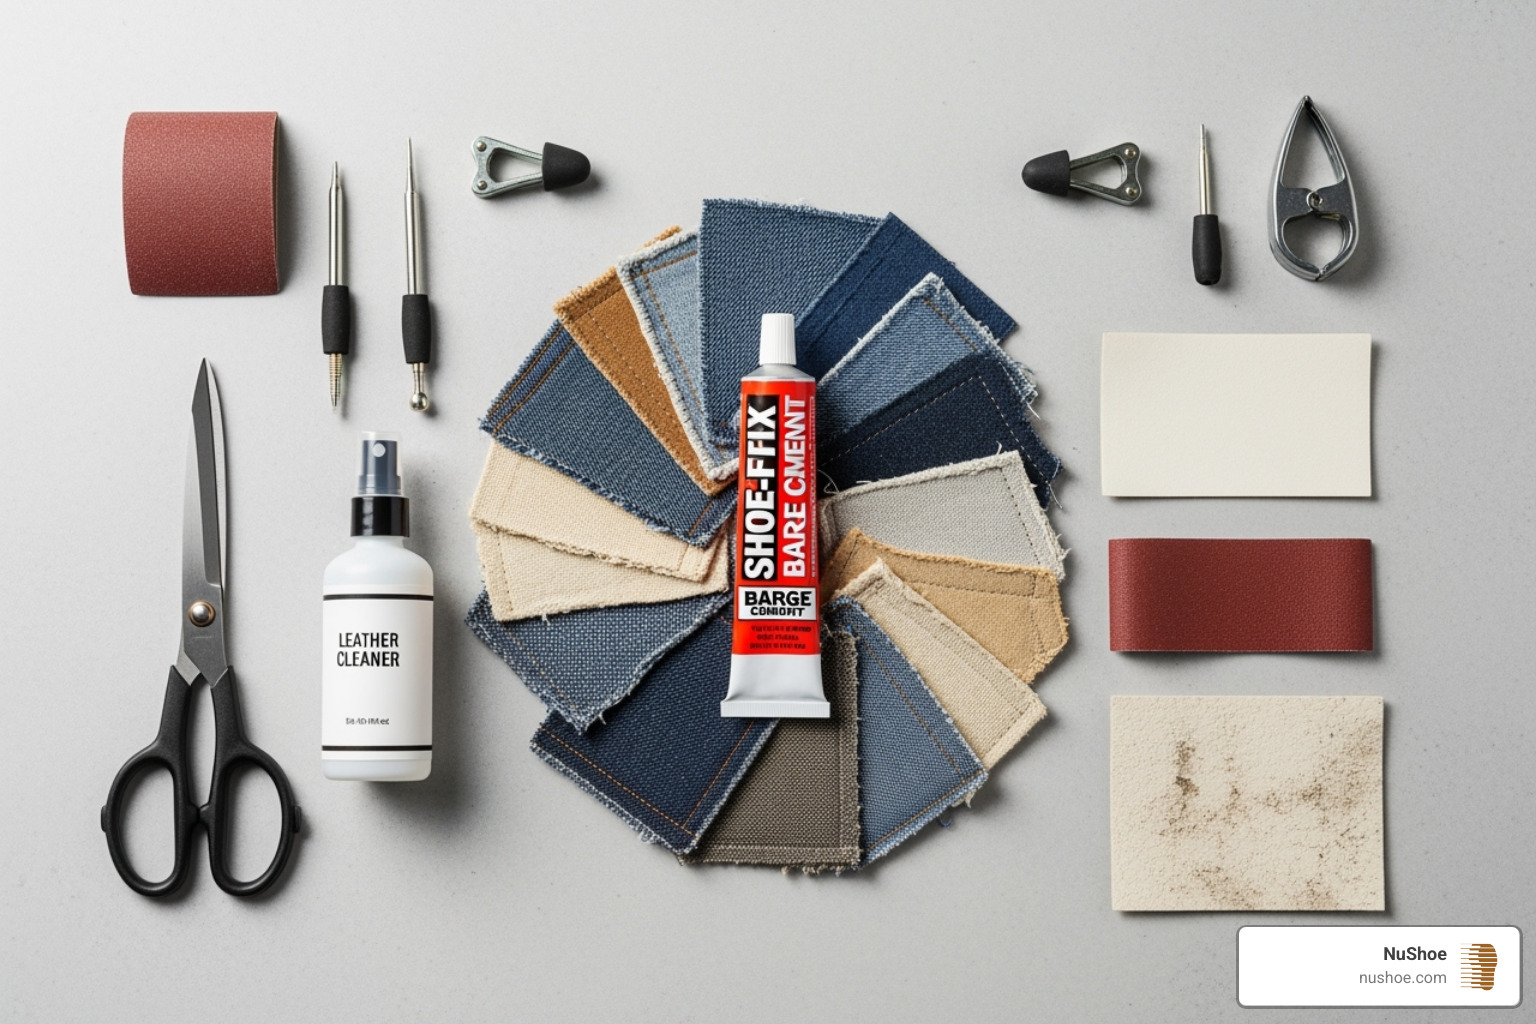
Having the right tools is half the battle. Here’s what you’ll likely need:
- Durable Fabric: For your new lining, use tough but flexible materials like denim, nylon, duck cotton, or moleskin.
- Self-Adhesive Patches: For a quicker fix, use pre-made patches designed for shoe repair.
- Strong, Flexible Glue: Avoid regular superglue, as it dries hard and will crack. Use a flexible shoe glue like Shoe Goo, contact cement, or neoprene adhesive that stays pliable.
- Scissors: A sharp pair is essential for precise cutting.
- Needle and Strong Thread: For a stitched repair, you’ll need a thin, sharp needle and strong thread. A curved needle is helpful for tight spots.
- Cleaning Supplies: A cleaning cloth and rubbing alcohol to prepare the repair area by removing dirt and grime.
Preparing Your Shoes for a Shoe Heel Lining Repair
Proper preparation ensures your repair will last. Don’t skip these crucial steps:
- Remove Insole: Gently pull out the shoe’s insole to get better access to the damaged area and protect the insole from glue.
- Clean the Area: Use a damp cloth to wipe away dirt and debris. Rubbing alcohol can remove stubborn grime. Ensure the area is completely dry before proceeding, as this is critical for the glue to adhere properly.
- Trim Loose Threads: With your scissors, carefully trim any loose or frayed bits of the old lining to create a clean, smooth surface for the new patch.
Comparing DIY Repair Methods
Different types of damage and how long you want your repair to last will guide your choice of method. Here’s a quick comparison of our top DIY approaches to how to repair shoe heel lining:
| Method | Durability | Ease of Repair | Best Use Case |
|---|---|---|---|
| Fabric Patch | High (with stitching) | Medium | Significant holes, long-term repair, athletic shoes |
| Self-Adhesive Patch | Medium | Easy | Smaller tears, quick fixes, less severe wear |
| Duct Tape | Low (temporary) | Very Easy | Emergency fixes, testing comfort, temporary solution |
Method 1: The Classic Fabric Patch for a Durable Shoe Heel Lining Repair
This method is our top pick for a long-lasting, robust repair that uses both glue and stitching for maximum durability.
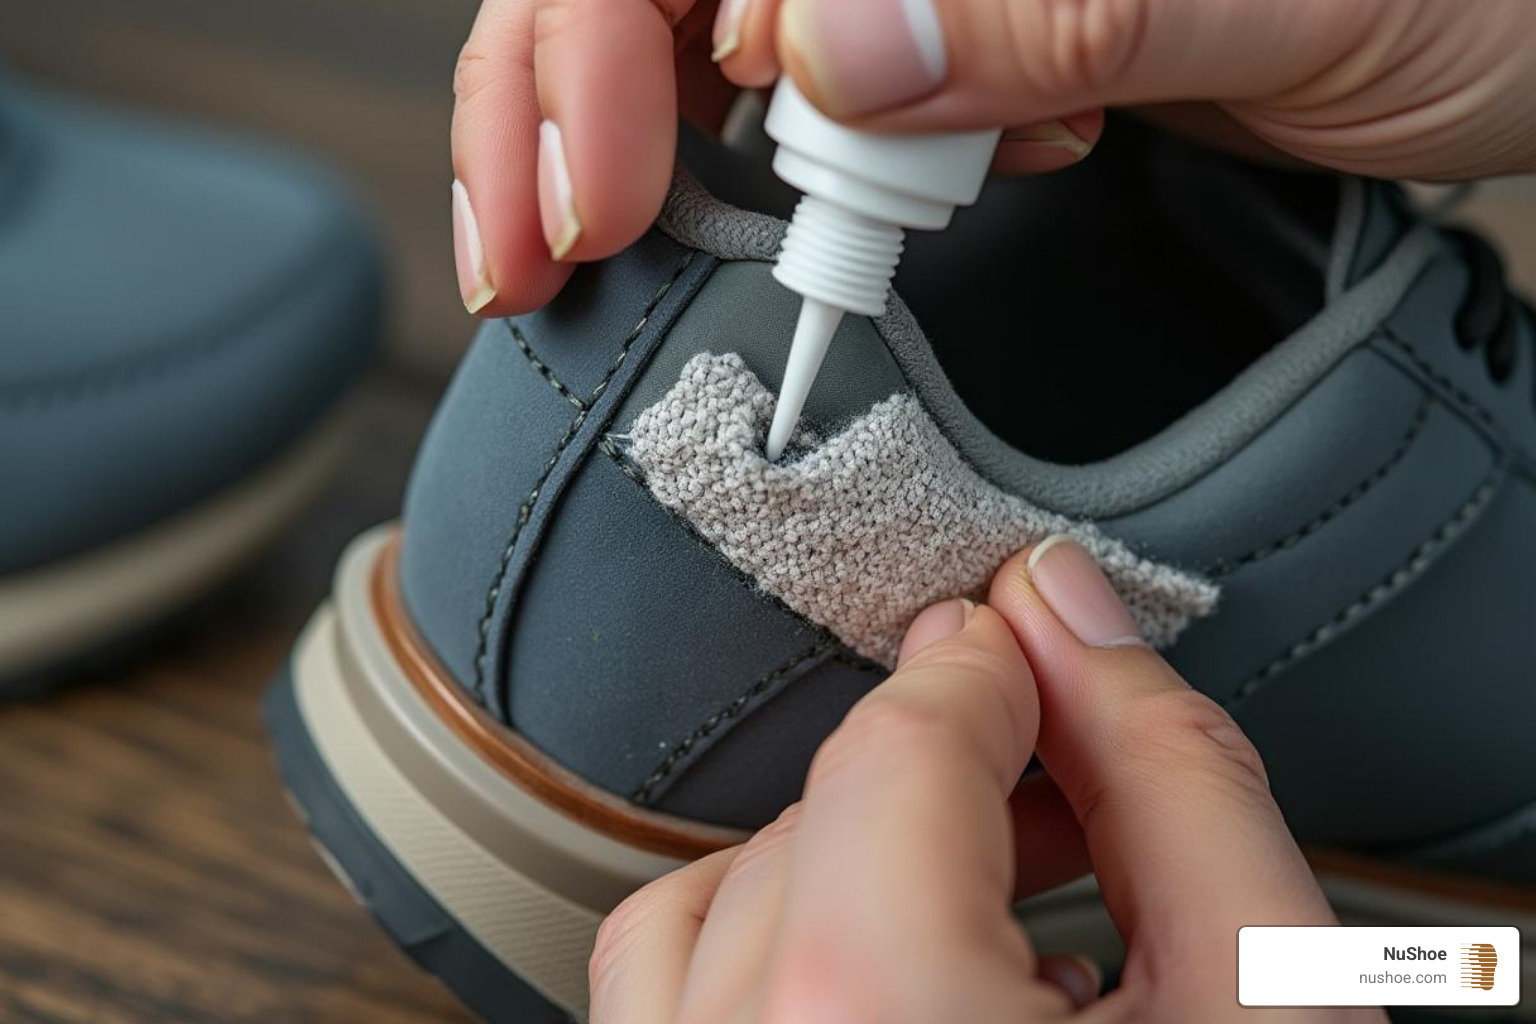
- Cut Fabric to Size: Cut a piece of durable fabric (like denim) large enough to cover the damaged area, with a little extra to tuck under the footbed if possible. You can use the old lining or a paper template as a pattern.
- Apply Flexible Glue: Apply a flexible shoe glue (like Shoe Goo) to the back of the fabric patch and to the cleaned, damaged area inside the shoe. Ensure even coverage.
- Press Patch Firmly: Place the patch over the worn area, pressing firmly to smooth out any wrinkles or air bubbles. Hold it with steady pressure for a few minutes, then let the glue set for at least an hour (or as directed by the adhesive’s instructions).
- Stitch Top Edge for Security: Once the glue is tacky, use a needle and strong thread to stitch the top edge of the patch to the existing shoe lining. This crucial step prevents the edge from peeling up. A simple running stitch or whip-stitch works well. Finish with a secure knot.
- Reinsert Insole: After the glue has fully cured (often several hours or overnight), reinsert the shoe’s insole.
This method takes more effort but provides a repair that can last for years. For more general tips on how to fix a shoe heel, explore our dedicated page.
Method 2: Using Self-Adhesive Patches
For minor tears or a quicker fix, self-adhesive patches are a great option, offering a clean and simple repair.
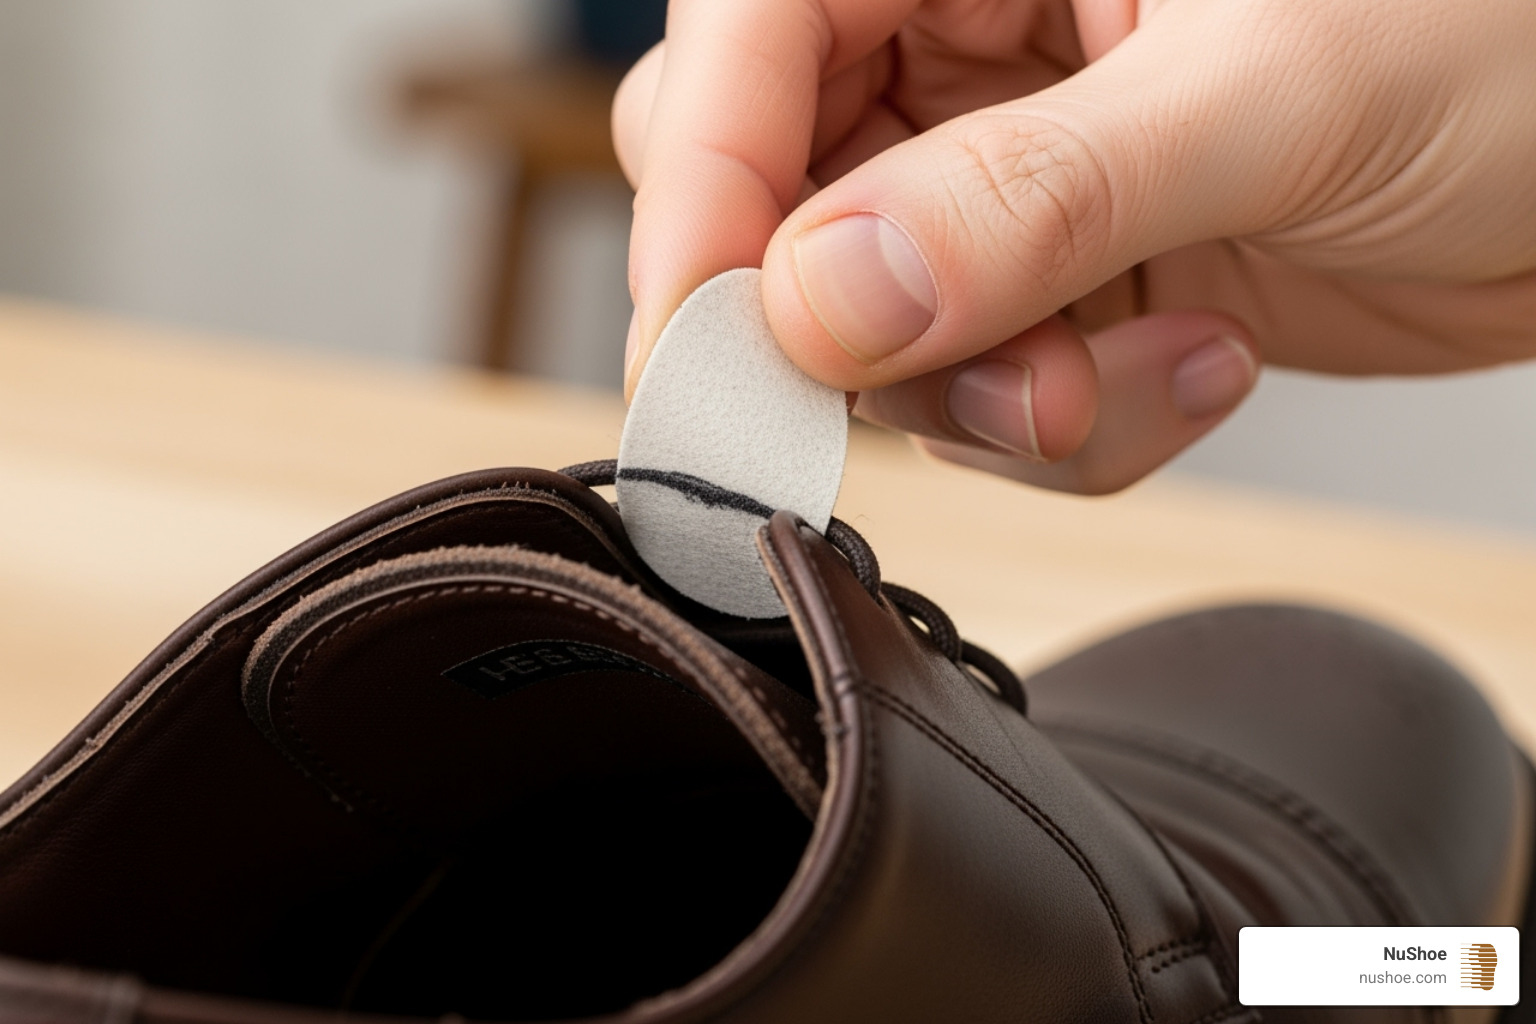
- Clean Surface: Ensure the area is clean, dry, and free of loose threads for the adhesive to bond properly.
- Peel and Stick: Peel the backing off the patch and position it carefully over the worn area, covering all damage.
- Smooth and Press: Press the patch down firmly from the center outwards to smooth out air bubbles and wrinkles. Pay extra attention to the edges.
- Let it Cure: Apply steady pressure for a few minutes, then let the shoes sit for a few hours before wearing to allow the adhesive to cure.
- Moleskin Patches: Moleskin, known for blister prevention, can also be used as a self-adhesive lining. It’s soft, padded, and sticks well, making it a comfortable choice for minor wear.
While not as durable as a stitched patch, self-adhesive patches can extend your shoe’s life and comfort. You can find more details about how to repair shoe heel lining using various methods in our comprehensive guide.
How to Repair Shoe Heel Lining
Method 3: Temporary Quick-Fixes
Sometimes, you just need a solution right now, even if it’s not going to last forever. These quick fixes are perfect for emergencies or to get you by until you can do a more permanent repair. Think of them as a shoe band-aid!
- Duct Tape: Ah, the ultimate temporary fix! Just cut a piece of duct tape to cover the worn area and press it firmly into place. It’s not going to win any beauty contests, and it won’t last long, but it can stop rubbing and discomfort in a pinch. Just be ready to replace it pretty often.
- Fabric Band-Aids: For smaller holes or hot spots, a flexible fabric Band-Aid can give you immediate relief. Center the soft gauze part over the hole and stick it down firmly. This can be surprisingly effective for a short time, with some people even finding they hold up well for a few days of running!
These are definitely “MacGyver-style” solutions. They’ll get you out of a bind, but they aren’t designed for long-term wear or heavy use. Consider them a helpful temporary measure until you can perform a proper, lasting repair.
Prevention: The Best Way to Protect Your Heel Linings
While knowing how to repair shoe heel lining is useful, preventing the damage in the first place is even better. A few easy habits can significantly extend the life of your shoes.
-
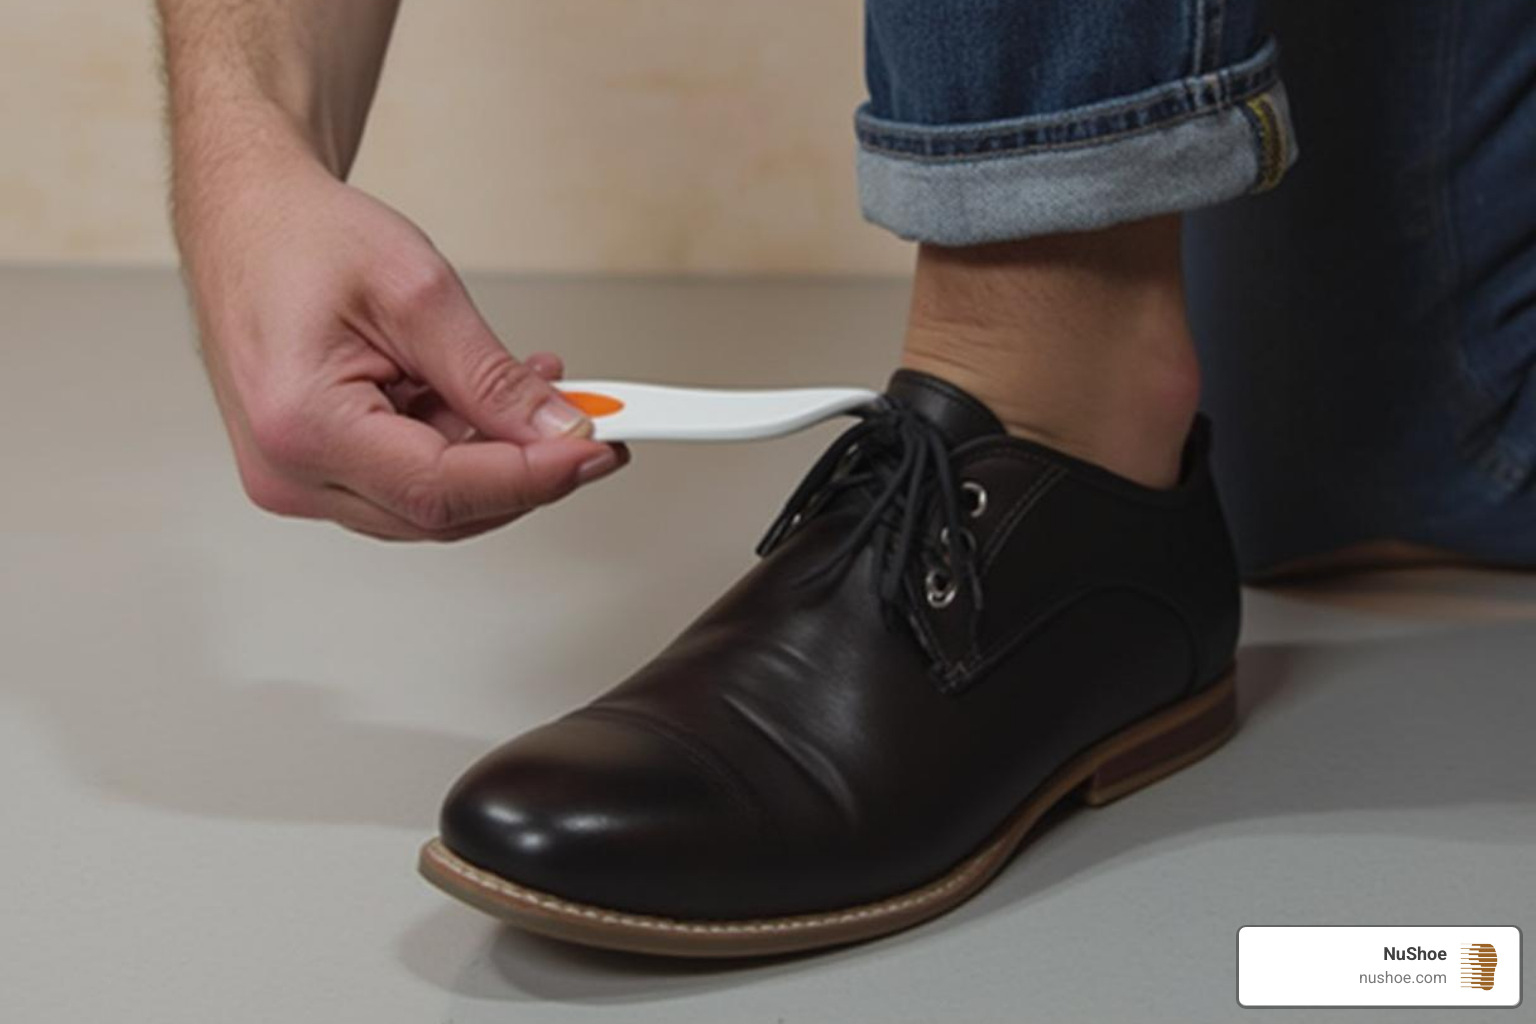
Use a Shoe Horn: A shoe horn is a game-changer. It guides your foot smoothly into the shoe, preventing your heel from dragging against and tearing the delicate lining.
-
Untie Your Laces Properly: Forcing your foot in or out of a tied shoe puts immense strain on the heel area, stretching and tearing the lining over time. Always take a moment to untie your laces.
-
Ensure Correct Shoe Size: Shoes that are too big cause friction from your foot sliding around, while shoes that are too tight create damaging pressure points. A proper fit is vital for preventing wear.
-
Address Gait Issues: Conditions like overpronation (foot rolling inward) or supination (foot rolling outward) can cause uneven rubbing. If you suspect this is an issue, a podiatrist can recommend inserts or exercises to correct your foot mechanics and reduce stress on your shoes.
-
Allow Shoes to Dry Fully: Moisture from sweat or rain can weaken the lining’s materials and adhesives, making them prone to tearing. Always let your shoes air out and dry completely between wears.
By adopting these simple habits, you’re not just preventing heel lining damage; you’re actively extending the overall lifespan and comfort of your beloved footwear. It’s a smart way to protect your investment and keep your favorite pairs in rotation for years to come.
DIY vs. Professional Repair: When to Call an Expert
While DIY repairs are great, some jobs need a professional touch. Knowing when to call an expert can save you time, frustration, and ensure a superior, long-lasting repair.
Consider a professional repair service when:
- The Damage is Severe: If the lining is shredded or the stiff heel counter has collapsed, a DIY patch won’t suffice. Professionals can perform comprehensive repairs, like a full backlining replacement, to rebuild the shoe’s structure.
- You Own High-Value or Specialized Footwear: For investments like designer sneakers, leather boots (including brands like Dr. Martens), or shoes with materials like GORE-TEX, a professional repair preserves their value and integrity. Experts have the right techniques for delicate materials.
- You Desire a Professional Finish and Durability: A skilled cobbler provides a seamless, durable repair using industrial-grade adhesives and specialized equipment. The result is often an almost-new feel and appearance.
- You’re Short on Time or Prefer Convenience: If you’re busy or prefer to leave intricate work to experts, professional repair is a convenient, reliable option.
At NuShoe, we specialize in handcrafted shoe renewal. Since 1994, we’ve repaired over 5 million pairs of shoes, so we’ve seen and fixed it all. Our expertise covers complex heel issues, ensuring your shoes return to you feeling like new. We are committed to sustainability by extending the life of your footwear. For extensive heel problems beyond a simple patch, check out our professional services.
Frequently Asked Questions about Shoe Heel Lining Repair
We’ve covered a lot of ground on how to repair shoe heel lining, but it’s natural to have a few more questions swirling around. Let’s tackle some of the most common ones we hear!
Can the inside lining of any shoe be repaired?
Yes, in most cases, the inside lining of a shoe can be repaired. The best method depends on the material and the extent of the damage. Fabric linings in athletic shoes are often straightforward to patch with a DIY kit. However, leather linings or shoes with technical materials like GORE-TEX benefit from professional attention to ensure a durable and aesthetically pleasing repair that doesn’t compromise the shoe’s features. For widespread damage or structural issues, a professional service like ours can provide a comprehensive solution, such as replacing the entire backlining.
How do you fix a collapsed heel in a shoe?
A collapsed heel means the rigid structure at the back of the shoe (the heel counter) is broken or has lost its shape. This is more serious than a simple tear in the lining.
For a minor collapse, you can try DIY methods like inserting dense foam for support or using fabric reinforcement with strong glue and stitching to add rigidity. However, these are often temporary fixes. For a severe collapse, a professional repair is recommended. A cobbler has the tools and expertise to rebuild the heel counter, restoring the shoe’s support and comfort for long-term wear.
How long does a DIY heel lining repair last?
The longevity of a DIY repair depends on the method, materials, and shoe usage.
- A stitched fabric patch is the most durable option, often lasting from several months to over a year, depending on wear.
- Self-adhesive patches are a quicker fix, typically lasting a few weeks to a few months.
- Duct tape is a very temporary solution, lasting only a few days or weeks.
Even the best DIY repair will eventually wear out. You can always re-apply the fix, but for a truly lasting solution, consider trusting your beloved shoes to a professional service like NuShoe.
Give Your Shoes a New Lease on Life
Isn’t it amazing how a little care can make such a big difference? Repairing your shoe heel lining is more than just a practical fix for a bothersome tear. It’s a statement, a choice to truly invest in the things you already own and love. In a world of fast fashion and throwaway items, choosing to repair is a powerful act of sustainability. It’s about reducing waste, appreciating the craftsmanship that went into your footwear, and giving your favorite pair a well-deserved second chance.
Here at NuShoe, we truly believe that every pair of shoes has so many more miles left in them. Our passion and expertise lie in what we call “handcrafted shoe renewal”—it’s about breathing new life into your worn-out footwear, whether it’s a beloved pair of sneakers or neat leather boots. Since our founding way back in 1994, we’ve had the incredible privilege of repairing over 5 million pairs of shoes. Think of all those shoes that avoided the landfill!
We’re proud to offer specialized repair programs for many national brands, ensuring that your shoes receive the precise care they deserve, from fixing a tricky how to repair shoe heel lining issue to full sole replacements. Our goal is always to deliver a repair that feels like magic, making your shoes comfortable and ready for countless more trips.
So, whether you’ve tried your hand at a DIY fix or you’re ready to trust your precious pair to our experts, know that you’re contributing to a more sustainable future, one step at a time. Ready to see what kind of new life we can bring to your shoes?