

Why Your Favorite Leather Boots Deserve a Second Chance
Leather boots cracking fix is possible with the right approach. Here’s what you need to know:
Quick Fix Summary:
- Surface cracks: Clean thoroughly, then apply leather conditioner in multiple thin layers
- Deep cracks: Use leather filler after cleaning, sand smooth, then color match and seal
- Prevention: Regular conditioning every 3-6 months and proper storage away from heat
Essential Tools:
- Leather cleaner and conditioner
- Leather filler for deep cracks
- Fine-grit sandpaper (600-800 grit)
- Horsehair brush and microfiber cloths
- Color-matching leather dye or cream
Finding cracks spider-webbing across your favorite leather boots is a common problem. Leather cracks when it loses its natural oils and becomes brittle, especially at flex points.
The good news is that most cracked leather can be restored. While the fiber separation is permanent, the right repair techniques can make cracks virtually invisible. In fact, about 90% of cracked boots can be restored to excellent condition.
Repairing your boots saves money, honors quality craftsmanship, and reduces waste. A well-made pair of leather boots can last for decades with proper care.
I’m Eric Neuner, founder of NuShoe Inc, and I’ve been helping people with leather boots cracking fix solutions since 1994. Over the past 30 years, our company has restored over 5 million pairs of shoes and boots, giving me deep insight into what works—and what doesn’t—when it comes to leather repair.
Understanding Why Leather Boots Crack
Leather is essentially skin. It needs its natural oils to stay supple and flexible, just like your own skin needs moisture.
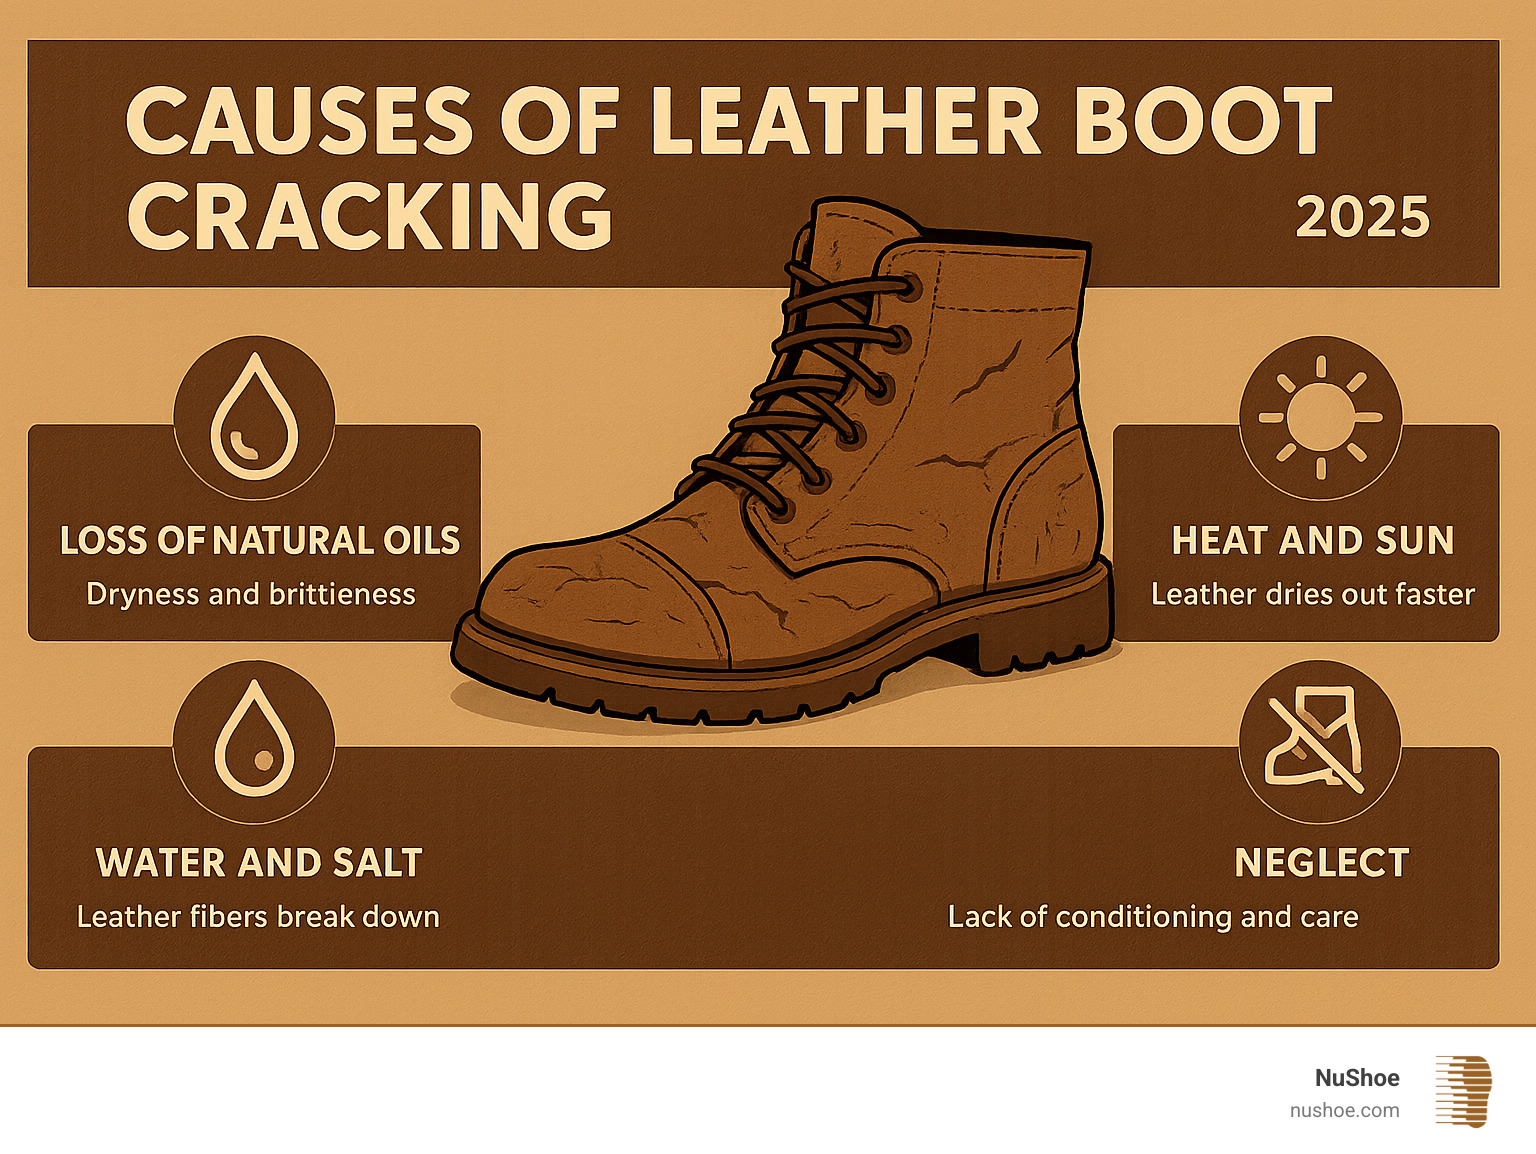
When leather loses these oils, it becomes dry and brittle. The fibers stiffen and can no longer handle the stress at flex points (like across the toe), causing them to break and form cracks.
Heat and sun exposure accelerate this drying process. Water damage creates a destructive cycle of swelling and contracting, while salt stains from winter slush break down the leather’s internal structure.
It’s important not to confuse damage with patina development. Patina is the beautiful sheen on well-loved boots, while cracks are actual fissures in the leather that require attention.
Some boots are more prone to cracking. For example, certain Dr. Martens styles with a “Smooth” leather finish have a coating over thinner leather that can peel and lead to cracks. At NuShoe, we’ve worked on thousands of these boots, so we understand how different leather types behave.
Scientific research on leather hydration confirms that moisture balance is critical for leather longevity. Understanding this is key to any leather boots cracking fix. For more repair techniques, see our guide on How to Repair Leather on Shoes.
Assessing the Damage: Surface vs. Deep Cracks
Before starting a repair, you must assess the damage. Your approach will depend on whether the cracks are on the surface or deep within the leather.

Surface cracks are fine lines or shallow creases where the leather underneath is still intact. They often look like dry skin and respond well to conditioning, making them largely reversible.
Deep cracks are wider, more noticeable, and feel brittle. The leather may be splitting apart or flaking, and in severe cases, the crack goes through to the lining.
The good news is that even many deep cracks can be repaired to look nearly invisible. In my 30 years at NuShoe, I’ve seen boots that looked beyond hope restored to beautiful condition.
However, if the leather has split completely and the boot’s structure is compromised, a DIY leather boots cracking fix may not be enough. This is when professional repair is the smarter choice for the quality and longevity of your boots. Be honest about the damage: surface cracks are a great DIY project, while deep fissures require more patience and the right materials.
Your DIY Repair Toolkit
Having the right tools is crucial for a professional-looking leather boots cracking fix. Based on our experience repairing over 5 million pairs of shoes at NuShoe, quality tools are a worthy investment.

Your leather cleaner is essential for removing dirt and old polish without stripping the leather’s natural oils. Your leather conditioner is the hero of the repair, rehydrating dry leather by replacing lost oils. Quality options include various shoe creams, leather lotions, or natural oils like mink or neatsfoot oil.
For deeper damage, leather filler fills the void where leather has cracked, creating a smooth foundation. Fine-grit sandpaper (600-800 grit), used lightly, is crucial for smoothing rough crack edges and leveling the filler.
For application, a horsehair brush is perfect for cleaning and buffing without scratching, while microfiber cloths are great for delicate work. A palette knife helps apply filler precisely into cracks.
Finally, you’ll need color-matched leather dye or cream to blend the repair and a leather sealant to lock everything in and protect against future damage.
Essential Repair Tools:
- Leather cleaner and conditioner
- Leather filler for deep cracks
- Fine-grit sandpaper (600-800 grit)
- Horsehair brush and microfiber cloths
- Palette knife for precise application
- Color-matched leather dye or cream
- Leather sealant for protection
With these tools, you’re ready to tackle most leather boots cracking fix challenges.
The Step-by-Step Guide to Your Leather Boots Cracking Fix
Whether you’re dealing with minor surface cracks or deep fissures, follow these steps to restore your boots.
Step 1: Clean and Prepare the Leather
A thorough cleaning is essential before any repair. Dirt or old product buildup will prevent the repair from being effective.
Start by removing the laces and insoles. Use a horsehair brush to sweep away loose dirt, paying attention to seams and eyelets. Next, apply leather cleaner to a microfiber cloth and work it into the leather in small circular motions. For heavily soiled boots, saddle soap is effective. Create a light lather, work it in, and wipe the foam away with a clean, damp cloth.
Crucially, let your boots air dry completely for several hours or overnight. Resist the urge to use direct heat like a hair dryer, as this will worsen the cracking by drying the leather further.
A properly cleaned boot is the foundation for a successful leather boots cracking fix. For more cleaning techniques, see our guide on Leather Shoe Care.
Step 2: The Simple Fix for Minimal Cracking
Fine surface cracks are often a sign of dehydration. This step focuses on rehydration to restore the leather’s moisture.
Apply your chosen leather conditioner (such as a quality cream, lotion, or mink oil) with a microfiber cloth or your fingertips. The key is to use thin layers, as thick globs won’t penetrate properly.
Massage the conditioner into the leather with circular motions, focusing on cracked areas and flex points. You’ll often feel the leather soften as you work.
Now, wait. Let your boots absorb the conditioner overnight (12-24 hours). Very dry leather might need a second thin coat after an hour.
Once the conditioner has penetrated, buff to a gentle shine with a horsehair brush or clean cloth. This removes excess product and helps blend the softened cracks. This simple rehydration can make surface cracks nearly disappear.
For more on restoring finishes, visit our guide on Refinishing Leather Boots.
Step 3: The Advanced Leather Boots Cracking Fix for Deep Fissures
Deep cracks require filling. This step needs patience, but the results are worth it.
If crack edges are rough, start by lightly sanding with fine-grit sandpaper (600-800 grit). Sand along the crack with feather-light pressure to smooth the edges, then wipe away the dust.
Next is the leather filler application. Using a palette knife, work the filler into the crack.

A common mistake is applying one thick layer. Instead, use multiple thin coats. Thick layers crack as they dry. Allow each layer to dry completely (30 minutes to several hours) before applying the next. This builds a stronger, more flexible repair.
Once the final layer is dry, sand the filler smooth with the same fine-grit paper. The goal is a seamless surface, flush with the surrounding leather.
For more detailed techniques, explore our guide on Leather Shoe Crack Repair.
Step 4: Color Matching and Sealing the Repair
The repaired area will likely be a different color. This final step restores a uniform appearance and protects your work.
To achieve a color match, use a cream polish or leather dye. Start with tiny amounts and build up gradually. When applying leather dye, use a small sponge or swab for precision. Work in thin layers and feather the edges by using less pressure as you move onto the untouched leather to create a seamless transition.
Always test your color on a hidden spot first, like under the tongue.
Buff the entire boot once the color is dry to blend the repair and create a uniform shine. Buff both boots to ensure they match. The final step is applying a leather sealant, which acts as a protective clear coat. Apply it evenly per the product instructions and let it dry.
Your leather boots cracking fix is now complete, with the cracks virtually invisible. For color restoration advice, see our guide on Leather Shoe Color Restoration.
Aftercare: Preventing Future Cracks
After repairing your boots, the key is prevention. A consistent care routine is the secret to keeping leather supple and crack-free.
Treat leather care like skincare: proactive moisturizing prevents damage. Proper storage is your first line of defense. Keep boots in a cool, dry place away from direct sunlight or heat vents, which strip natural oils and accelerate a leather boots cracking fix scenario.
Cedar shoe trees are a key tool. They absorb moisture and maintain the boot’s shape, preventing issues like mildew and weakened leather. Use them as soon as you take your boots off.
Develop a regular conditioning schedule. For boots worn often or in dry climates, condition monthly. For casual wear, every 3-6 months is sufficient. Watch for warning signs like a dull appearance or stiff feel—these are signs your boots need moisture.
Avoid extreme heat at all costs; always air dry wet boots. If you wear your boots daily, try to rotate your footwear. Giving boots 24 hours of rest allows them to dry fully and helps the leather recover.
These habits honor the craftsmanship of your boots and ensure you get decades of wear. For more tips, see our guide: More info about Renew Old Leather Shoes.
When to Seek Professional Help
While DIY is empowering, some situations require professional expertise. Knowing when to get help can save you money and prevent accidental damage.

Deep splits that go through the leather to the lining need professional techniques like patching and reinforcement. If your boots have significant sentimental value or were a major investment, don’t risk a DIY experiment.
Failed DIY attempts can also create more complex problems. Our craftsmen have seen it all and can often correct previous mistakes.
Finally, for a factory-fresh look, professional repair offers a level of perfection that’s hard to match at home. Our expertise in color matching and finishing means your boots come back looking virtually new.
At NuShoe, we’ve perfected the art of the leather boots cracking fix since 1994. When your boots need an expert touch, we’re here to bring them back to life.
Frequently Asked Questions about Leather Boot Repair
After three decades of restoring boots, we’ve noticed common questions about leather boots cracking fix solutions. Here are the straight answers.
Can cracked leather be fully restored to new?
Once leather fibers crack, the separation is permanent. However, the good news is that the appearance can be restored to a remarkable degree. With proper techniques, we can make cracks virtually invisible.
Think of it like a skilled tattoo cover-up; the original is still there, but you’d never know. That’s what hiding cracks effectively can do for your boots. Based on our experience with over 5 million pairs, about 90% of cracked leather can be restored to look nearly new, achieving professional results.
How often should I condition my boots to prevent cracks?
The ideal frequency depends on climate and wear frequency. Boots in a dry climate need more care than those in a humid one.
Our general rule is every 3-6 months for normal conditions. However, learn to read your leather. Signs of dryness like a dull look, stiff feel, or fine lines are your best guide. When you see these, it’s time to condition. If you wear your boots daily or live in a dry area, condition them monthly to keep them supple.
What is the biggest mistake in a DIY leather boots cracking fix?
The number one mistake we’ve seen in 30 years is applying filler too thick. Thick layers crack as they dry, worsening the problem. Always use multiple thin layers.
Skipping cleaning prep is a close second. Repairing dirty leather is ineffective, as the products won’t adhere properly.
Another critical error is using wrong products. We’ve seen people use petroleum jelly or wood glue, which can cause more damage by trapping dirt or preventing the leather from breathing. Stick to products designed for leather to avoid these pitfalls and get the job done right.
Conclusion
Fixing cracked leather boots is a rewarding restoration project that can bring your favorite footwear back to life. A leather boots cracking fix is absolutely possible with the right approach.
While we can’t magically rejoin cracked leather fibers, we can make those cracks virtually disappear, restoring your boots to a condition you’ll be proud to wear.
Prevention is your best friend. Regular conditioning and proper storage are the best investments in your boots’ future. Choosing to repair rather than replace is a practical and meaningful decision in our throwaway culture. You honor the craftsmanship of the boots and make a choice that’s better for the planet.
The sustainability of repair is significant. Every pair of boots you restore is one less pair in a landfill. It’s a small but powerful way to push back against fast fashion.
At NuShoe, we’ve helped restore over 5 million pairs of shoes since 1994, and each one tells a story of giving footwear a second chance. Whether you tackle the repair yourself or decide you need our NuShoe expertise for a complex restoration, don’t give up on boots that still have miles left in them.
For expert assistance with your footwear, explore our professional leather shoe repair services.