
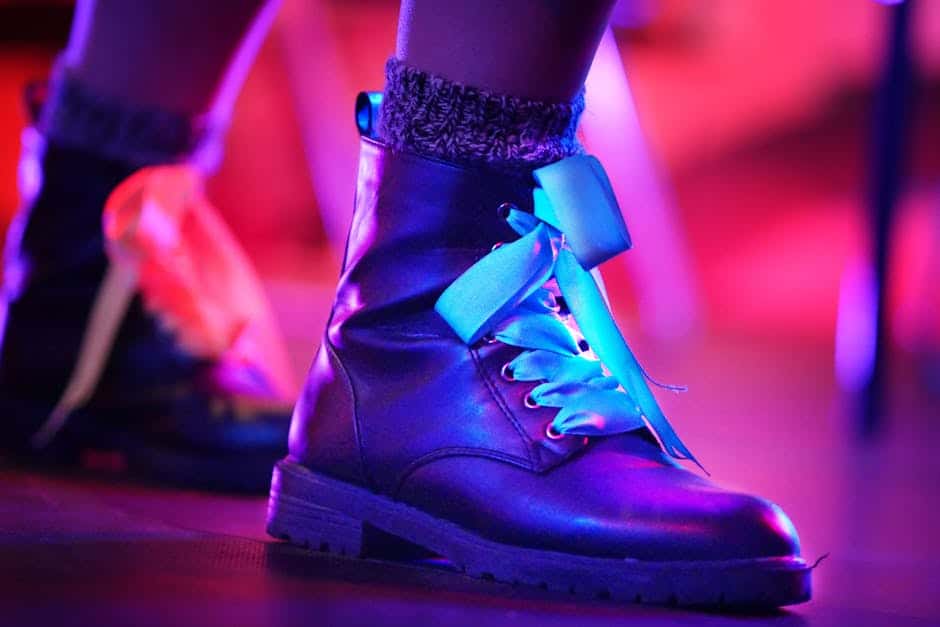
Introduction
Boot repair is essential for extending the life of your favorite footwear, and it’s simpler than you might think. Whether you’re dealing with worn-out soles, damaged heels, or a tear in the leather, addressing these issues sooner rather than later can save you money and keep your boots looking and feeling great. Here’s a quick cheat sheet for common boot repairs:
- Replace worn-out soles and heels
- Fix rips and tears in the leather
- Restore shine and finish
Regular maintenance can prevent small problems from becoming bigger issues. Plus, repairing boots is an eco-friendly choice that reduces waste. NuShoe is here to make boot repair accessible, easy, and effective using top-tier craftsmanship.
I’m Eric Neuner, the founder of NuShoe. With over 25 years of experience in boot repair, my goal is to provide the highest quality craftsmanship and customer service.

Step 1: Assess the Damage
Before diving into any boot repair, it’s crucial to assess the damage. This helps you understand what needs fixing and ensures you address all issues effectively.
Common Boot Issues
Inspecting Your Boots
Start by thoroughly inspecting your boots. Look for any visible damage like rips, tears, or areas where the sole is separating from the boot. Pay special attention to the tread and heel, as these areas receive the most wear and tear.
Safety Concerns
Worn-out boots can pose safety risks. For example, uneven tread can reduce slip resistance, making you more prone to slips and falls. Always address these issues promptly to ensure your safety.
Uneven Tread
Uneven tread is a common issue that affects the boot’s grip. This can make walking on slippery or uneven surfaces dangerous. If you notice bald patches or worn-out areas, it’s time to consider a sole replacement.
Reduced Slip Resistance
Slip resistance is essential, especially for work boots. Worn-out soles can lose their grip, increasing the risk of accidents. Check the tread pattern and depth to ensure they are still effective.
Rips and Tears
Rips and tears in the boot’s upper material can let in water and reduce the boot’s overall durability. Small tears can often be fixed with adhesives like Aquaseal SR, while larger rips may require professional stitching.
Sole Separation
Sole separation is another common issue where the sole starts to detach from the boot. This can make walking uncomfortable and unsafe. Adhesives can temporarily fix this, but a full sole replacement may be necessary for a long-term solution.
By thoroughly assessing the damage, you can decide the best course of action for your boot repair. This sets the stage for the next steps, ensuring you have all the information needed to proceed effectively.
Step 2: Gather Your Materials
Essential Tools and Supplies
Before diving into your boot repair, you’ll need to gather some essential tools and supplies. Having the right materials on hand can make the process smoother and more effective.
Cleaning Supplies
Start by collecting basic cleaning supplies:
- Isopropyl Alcohol: Great for cleaning and disinfecting the boot surface.
- Warm Water and Dish Soap: Useful for initial cleaning to remove dirt and grime.
- Soft Cloths and Brushes: Essential for scrubbing and wiping down your boots.
Adhesives
For fixing rips, tears, and sole separation, you’ll need strong adhesives:
- Aquaseal SR: This adhesive is perfect for repairing rips and tears. It’s flexible and durable, making it ideal for boots.
- Weatherproof Sealant: Use this to seal any seams and prevent water from seeping into your boots.
- Duct Tape: Handy for temporary fixes and holding parts in place while adhesives cure.
Tools
A few basic tools will make your repair job much easier:
- Screwdrivers and Pliers: Useful for removing and replacing hardware like eyelets and buckles.
- Scissors: For cutting tape and trimming excess material.
- Shoe Brushes: To clean and apply polish or conditioner evenly.
Replacement Parts
Sometimes, parts of your boots may be beyond repair and need replacing:
- Replacement Soles and Heels: These can be found at shoe repair shops or online.
- New Laces and Eyelets: If your laces are frayed or eyelets are damaged, replace them to extend the life of your boots.
Tips for Gathering Supplies
- Check Local Stores: Many of these items are available at local hardware or shoe repair stores.
- Order Online: Visit our website at NuShoe for a range of boot repair supplies that can be delivered to your door.
- DIY Kits: Consider buying a boot repair kit that contains most of these essentials.
Once you have all your materials ready, you can move on to cleaning and preparing your boots for repair. This ensures that all surfaces are free of dirt and debris, allowing adhesives and other materials to bond properly.
Step 3: Clean and Prepare the Boots
Cleaning Techniques
Before you start any repair work on your boots, it’s crucial to clean and prepare them properly. A clean surface ensures that adhesives and other materials bond effectively, leading to a more durable repair.
Isopropyl Alcohol
One of the best ways to clean your boots is by using isopropyl alcohol. This helps to remove dirt, grime, and oils that can interfere with adhesives. Here’s how you can do it:
- Wipe Down: Use a soft cloth soaked in isopropyl alcohol to wipe down the entire surface of the boot.
- Focus on Problem Areas: Pay extra attention to the areas that need repair. Make sure they are thoroughly cleaned.
- Dry: Allow the boots to dry completely before moving on to the next step.
Deep Cleaning
For a more thorough clean, especially if your boots are very dirty or have been in storage for a while, consider a deep cleaning. This process involves several steps:
- Remove Laces: Take out the laces to access all parts of the boot.
- Brush Off Dirt: Use a soft brush to remove loose dirt and debris.
- Soap and Water: Mix a mild soap with water and use a cloth to scrub the boots. Be gentle, especially with delicate materials like suede or nubuck.
- Rinse and Dry: Rinse off the soap with a damp cloth and let the boots air dry. Avoid direct heat sources like heaters or sunlight, as they can damage the leather.
Conditioning
After cleaning, conditioning the leather is an important step to keep your boots in good shape. Conditioning restores the leather’s natural oils, making it soft and supple.
- Choose a Conditioner: Use a high-quality leather conditioner. Products containing pure lanolin are excellent for this purpose.
- Apply Generously: Apply the conditioner generously over the entire boot using a soft cloth.
- Let It Soak: Allow the conditioner to soak in for a few hours or overnight.
- Buff: Buff the boots with a clean cloth to remove any excess conditioner and bring out a nice shine.
By following these cleaning techniques, you ensure that your boots are well-prepared for the repair process. Clean boots not only look better but also last longer, making your repair efforts more effective.
Step 4: Repair the Damage
Fixing Rips and Tears
Repairing rips and tears in your boots can seem daunting, but it’s manageable with the right tools and techniques. Here’s how to do it:
-
Clean the Area: Before you start, clean the ripped area with isopropyl alcohol to remove any dirt and oils. This ensures the adhesive bonds properly.
-
Apply Aquaseal SR: Aquaseal SR is a flexible, waterproof adhesive perfect for boot repair. Squeeze a small amount of Aquaseal SR onto the rip, covering it entirely.
-
Use Tape for Alignment: If the tear is large, use duct tape to hold the torn edges together while the adhesive cures. Place the tape on the inside of the boot if possible.
-
Curing Process: Allow the Aquaseal SR to cure for at least 24 hours. This curing process is crucial for a strong, lasting repair.
Sole and Heel Repair
Worn-out soles and heels can compromise the integrity and comfort of your boots. Here’s a step-by-step guide to restoring them:
-
Remove the Old Sole: Use a utility knife or a sole remover tool to carefully cut away the old sole. Be gentle to avoid damaging the boot upper.
-
Clean the Surface: Clean the exposed surface with isopropyl alcohol to ensure a strong bond for the new sole.
-
Apply Adhesive: Apply a generous amount of weatherproof adhesive to the new sole and the bottom of the boot. Make sure to spread it evenly.
-
Attach the New Sole: Press the new sole onto the boot firmly. Use clamps or heavy objects to hold the sole in place while the adhesive sets. Leave it to cure for 24 hours.
-
Heel Replacement: If the heel is also worn out, follow similar steps. Remove the old heel, clean the surface, apply adhesive, and attach the new heel. Ensure it’s aligned correctly to avoid any discomfort.

By following these steps, you can effectively tackle common boot issues and extend the life of your favorite pair. Next, we’ll discuss the finishing touches to make your boots look and feel brand new.
Step 5: Finishing Touches
Boot Shine and Refinishing
Once your boots are repaired, it’s time to add the finishing touches. This step is crucial to make your boots look new and to protect them from future wear and tear.
Polishing
Start by giving your boots a good polish. Here’s how:
-
Clean the Surface: Remove any dirt or grime using a damp cloth. For a deeper clean, use a leather cleaner. Avoid cleaners with acid or detergent as they can damage the leather.
-
Apply Conditioner: While the leather is still slightly moist, apply a leather conditioner. This helps to replace the natural oils and keeps the leather soft. Let it sit for 24 hours.
-
Polish: Use a cream or paste polish that matches the color of your boots. Apply it with a soft cloth or a horsehair brush dauber. Let it dry for about 10 minutes.
-
Buff: Buff the boots with a horsehair brush to bring out a high luster. Use a soft cloth to achieve an even higher shine.
Waterproofing
To protect your boots from water damage, apply a waterproofing spray. Follow these steps:
-
Choose the Right Product: Use a water and stain protective spray specifically designed for leather.
-
Apply Evenly: Spray your boots evenly, following the instructions on the product. Make sure to cover all areas, including seams and stitching.
-
Dry: Allow the boots to dry completely before wearing them.
Final Inspection
Before you consider your boots ready, perform a final inspection:
-
Check for Adhesive Residue: Make sure there’s no leftover adhesive on the surface.
-
Ensure Proper Alignment: Double-check that the soles and heels are properly aligned.
-
Test Comfort: Wear the boots around the house to ensure they feel comfortable and stable.
Deep Clean and Refinish
For a more thorough restoration, consider a deep clean and refinish:
-
Deep Clean: Use saddle soap and water for a deep clean. Rinse thoroughly to remove all soap residue.
-
Condition: Apply a generous amount of leather conditioner, especially if the leather feels dry.
-
Color Touch-Up: Use permanent color to touch up worn or damaged areas.
-
Topcoat: Apply a custom topcoat to give your boots that brand-new look.
For suede or nubuck boots, use special cleaning stones or a delicate sand-blasting booth to remove stains. After cleaning, lightly brush and waterproof them for longer protection.
By following these steps, your boots will not only look amazing but also be well-protected against future damage. Now, let’s move on to some frequently asked questions about boot repair.
Frequently Asked Questions about Boot Repair
Are boots worth repairing?
Absolutely! Quality boots are often expensive and well-made, meaning they can last for years with proper care. Repairing your boots can save you money in the long run, as it prevents you from buying new ones frequently. Plus, repairing helps maintain the comfort and fit you’ve grown accustomed to. Whether it’s for work, hiking, or everyday wear, a good pair of boots is always worth repairing.
How do you fix a rip in the boot?
Fixing a rip in your boot is simpler than you might think. Here’s a quick guide:
- Clean the Area: Use isopropyl alcohol to clean the area around the rip. This removes dirt and oils that can interfere with the adhesive.
- Apply Aquaseal SR: This adhesive is perfect for fixing rips and tears. Apply a thin layer over the rip and use duct tape to hold it in place while it cures.
- Let it Cure: Allow the adhesive to cure for at least 24 hours. This ensures a strong bond.
What boots are repairable?
Most boots are repairable, especially if they are made from high-quality materials. Here are some examples:
- Leather Boots: These are often easy to repair because leather is durable and can be stitched or glued back together.
- Work Boots: These are designed to be repairable, with replaceable soles and heels.
- Hiking Boots: These can often be resoled and have their uppers repaired, extending their life significantly.
- Military and Safety Boots: These are built to last and can usually be repaired multiple times.
Repairing your boots not only saves money but also reduces waste, making it a sustainable choice. So, before you decide to toss out your old boots, consider giving them a second life through boot repair.
Conclusion
At NuShoe, we believe that boot repair is more than just fixing footwear; it’s about preserving craftsmanship and promoting sustainability. Our expert team has repaired over 5 million pairs of shoes since 1994, showcasing our dedication to extending the life of your favorite boots.
Sustainability is at the core of what we do. By choosing to repair rather than replace, you’re making an environmentally friendly choice. Every pair of boots we save from the landfill contributes to reducing waste and conserving resources. As they say at The Cobblers, “We save your shoes from their tragic death,” and this ethos perfectly aligns with our mission.
Our handcrafted shoe renewal services ensure that your boots receive the care and attention they deserve. Whether it’s a simple polish or a complete restoration, our cobblers use high-quality materials and expert techniques to bring your boots back to life. Just like the meticulous process at Houston Shoe Hospital, we focus on structural preservation, ensuring that the original feel and fit are maintained.
Choosing NuShoe means you’re investing in quality and sustainability. Our services not only extend the life of your footwear but also keep your favorite pairs in circulation for many more adventures. So next time your boots show signs of wear, with a little repair, they can continue to walk with you for years to come.
For more information on our services, visit our website or contact us at info@nushoe.com. Let’s keep those boots in action and out of the landfill!