

Why Your Favorite Shoes Deserve a Second Chance
DIY shoe lining repair can save your most beloved footwear from an early trip to the trash. Here’s what you need to know:
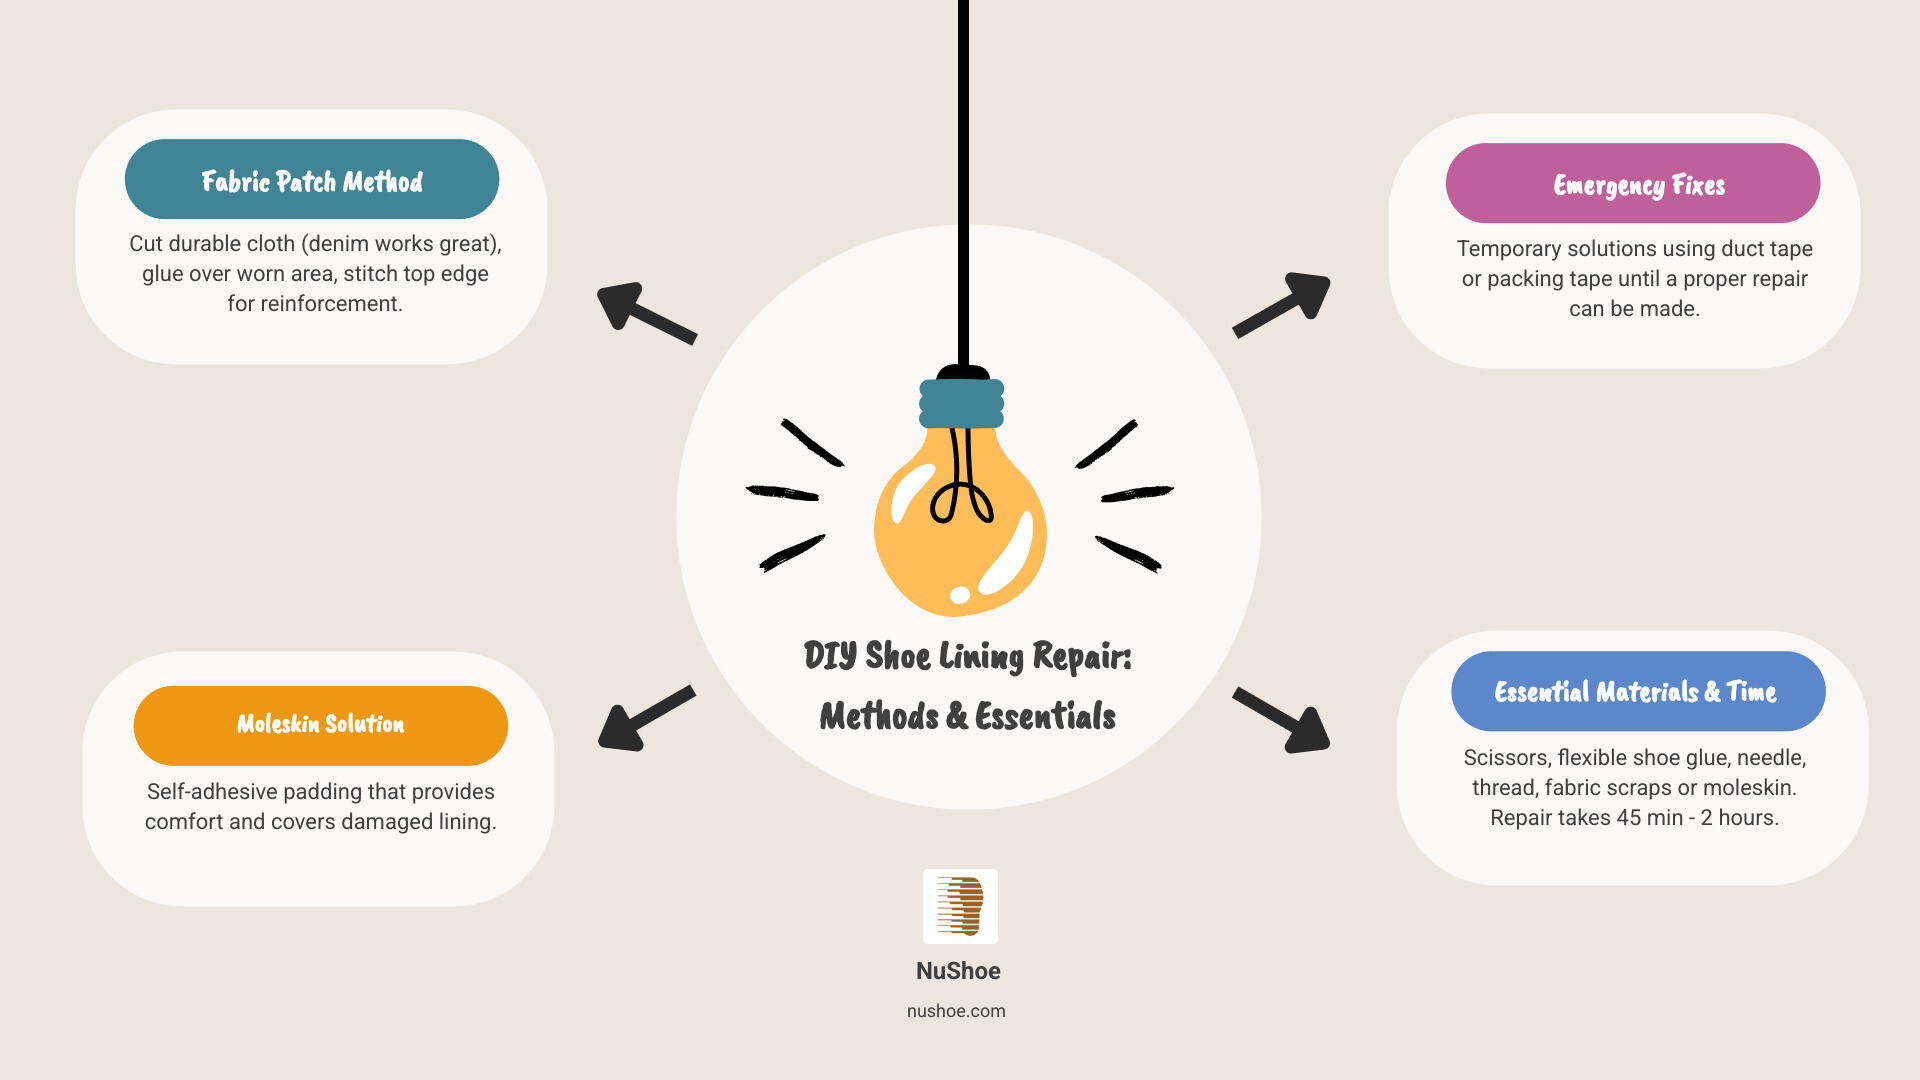
Quick DIY Repair Methods:
- Fabric Patch Method: Cut durable cloth (denim works great), glue over worn area, stitch top edge for reinforcement
- Moleskin Solution: Self-adhesive padding that provides comfort and covers damaged lining
- Emergency Fixes: Duct tape or packing tape for temporary solutions until proper repair
Essential Materials: Scissors, flexible shoe glue, needle and thread, fabric scraps or moleskin, ruler
Time Required: 45 minutes to 2 hours depending on method chosen
We’ve all been there – you slip on your favorite sneakers only to feel that uncomfortable rubbing where the heel lining has worn through. The worst thing about running shoes is that they’re expensive, but you’re supposed to abuse them, as one frustrated shoe owner put it. Even casual wear takes its toll, especially on shoes with thin canvas construction like Converse All Stars.
When the heel lining rips apart from continuous use, it reveals rough inner materials that can cause blisters and discomfort. Many people think this means their shoes are destined for the landfill, but that’s simply not true.
The good news? Most heel lining damage can be fixed at home with simple materials you probably already have. Whether it’s a quick duct tape patch or a more permanent fabric repair, these DIY methods can extend your shoes’ life significantly.
I’m Eric Neuner, founder of NuShoe Inc, and I’ve been in the shoe repair business since 1994. Through my experience rebuilding millions of pairs of shoes, I’ve learned that diy shoe lining repair is one of the most accessible ways for people to maintain their footwear and reduce waste.
Why Heel Linings Wear Out and What You’ll Need for the Fix
Ever wonder why your favorite sneakers betray you right at the heel? You’re not alone in this frustration. The heel lining seems to give up long before the rest of the shoe shows any real wear, and there’s actually some solid science behind this annoying phenomenon.
Friction from foot movement is the biggest culprit here. Every single step creates a rubbing motion between your heel and the shoe’s lining. Think of it like a very slow-motion sandpaper effect – over thousands of steps, even the toughest materials start to break down. This is especially true with athletic shoes where you’re doing more dynamic movements.
Improperly sized shoes make this problem ten times worse. When shoes are too big, your foot slides around like a pinball, creating extra friction with every step. Too small? The pressure points become stress concentrators that wear through the lining faster than you’d believe.
Here’s where many of us mess up: forcing shoes on and off without proper care. We’ve all been guilty of yanking our shoes off after a long day or cramming our feet in without untying the laces. This puts enormous stress on the heel area, causing the lining to buckle, tear, or separate from the shoe’s structure.
Some shoes are just more vulnerable by design. Converse All Stars, for example, are notorious for heel lining issues because of their thin canvas construction. While that lightweight feel is part of their charm, it simply can’t handle the same abuse as a more robust athletic shoe lining.
The result? Painful rubbing against rough inner materials, blisters, and that sinking feeling that your beloved shoes are headed for the trash. But here’s the good news – most heel lining damage is totally fixable with a good diy shoe lining repair.
Gathering Your Tools and Materials
Before we jump into the actual repair, let’s get your workspace ready. Having everything within arm’s reach makes the difference between a smooth repair session and a frustrating hunt for missing supplies.

You’ll need sharp scissors for clean, precise cuts – dull ones will fray your patch material and make the whole job look amateur. A flexible shoe glue is absolutely critical here. Skip the superglue completely; it dries hard and will crack with the first few steps. Look for products specifically designed for shoes or fabrics that stay pliable after curing.
For reinforcement work, grab a needle and strong thread. A thin, sharp needle works best for getting through shoe materials without creating large holes. Cleaning supplies like rubbing alcohol and a clean cloth are essential for surface prep – glue won’t stick to dirty or oily surfaces.
Don’t forget a ruler for accurate measurements and a craft stick for applying glue evenly. Trust me, you don’t want adhesive all over your fingers during this process.
For more detailed guidance on selecting the perfect adhesive for your specific repair needs, check out our insights on the best glue for repairing shoes.
Choosing the Right Patch Material
The material you choose can make or break your repair – literally. After helping restore millions of pairs of shoes since 1994, we’ve seen which materials stand the test of time and which ones fail after just a few wears.
Durable fabric like denim from old jeans is a fantastic choice. It’s tough, readily available in most households, and handles friction beautifully when properly glued and stitched. The downside? It can feel a bit stiff initially and really needs that reinforcement stitching to reach its full potential.
Felt offers excellent cushioning and cuts easily to size. Some people create a system where they glue felt half-circles into the heel pocket and replace them as they wear down. It’s soft and comfortable, though it does compress over time with heavy use.
Moleskin is the comfort champion of patch materials. This self-adhesive fabric padding eliminates the need for separate glue and provides extra cushioning right where you need it. It’s particularly great for people who’ve developed sensitive spots from the original damage.
Synthetic leather patches are purpose-built for shoe repair and often come with strong adhesive backing. They streamline the process and provide professional-looking results, though they’re not as readily available as household materials.
| Material | Pros | Cons |
|---|---|---|
| Denim | Very durable, readily available, strong once glued and stitched | Can be stiff, may require sewing for best results |
| Moleskin | Self-adhesive, soft, provides extra padding, comfortable, no sewing needed | Less durable than denim for heavy wear, may need frequent replacement |
| Felt | Easy to cut, provides cushioning, good for filling depressions | Can compress over time, may not be as durable as denim, often requires glue |
The key is matching your material choice to your lifestyle. Heavy walkers and athletes should lean toward durable options like denim, while casual wearers might find moleskin provides the perfect balance of comfort and convenience.
Your Step-by-Step Guide to DIY Shoe Lining Repair
Ready to bring your beloved shoes back to life? This section will walk you through the most effective methods to restore comfort and function to your shoes, from quick fixes to more durable solutions. Whether you’re dealing with a small worn spot or a completely blown-out heel lining, we’ve got a solution that’ll work for you.
The beauty of diy shoe lining repair is that you don’t need to be a master cobbler to get great results. With a little patience and the right approach, you can transform those painful, rubbing shoes back into comfortable favorites.
Preparing the Shoe for a Flawless Repair
Think of this step as laying the foundation for your repair. Skip it, and even the best patch job might fail. Take it seriously, and you’re setting yourself up for success.
Remove the shoe insert first – that removable insole or footbed needs to come out. This gives you clear access to the damaged area and protects the insert from any glue mishaps. Plus, you’ll have much better visibility to see what you’re working with.
Next, clean the damaged area thoroughly. Use a clean cloth with rubbing alcohol or mild cleaner to wipe away dirt, sweat, and debris. All that buildup can prevent your patch from bonding properly. Let everything dry completely before moving on – rushing this step is a common mistake that leads to patch failures.
Trim away any loose threads around the worn area with sharp scissors. These frayed bits can continue to solve and undermine your repair. You want a clean, stable surface to work with.
Finally, smooth down any rough edges or bumps from the torn lining. If there are hard ridges or sharp edges from the damaged material, try to flatten them as much as possible. Your foot will thank you later when there aren’t any new pressure points rubbing against your heel.

Method 1: The Classic Fabric Patch for your diy shoe lining repair
This is the gold standard of diy shoe lining repair – a method that combines durability with long-lasting comfort. It takes a bit more effort than other approaches, but the results are worth it, especially for shoes you wear frequently.
Start by measuring and cutting your fabric patch. Denim from old jeans works beautifully here – it’s tough, readily available, and holds up well to friction. Cut your patch about 1-2 cm larger than the damaged area on all sides. This extra material ensures good coverage and gives the adhesive more surface area to grip.
Here’s where things get interesting: apply flexible glue to both surfaces. Put a thin, even layer on the back of your fabric patch and another on the worn area inside the shoe. Use a craft stick to spread it evenly – nobody wants glue-covered fingers! If you’re using contact cement, let both surfaces get tacky before joining them together.
Press the patch firmly into place, working from the center outward to eliminate air bubbles. Take your time here and really mold the patch to follow the heel’s contours. The better the initial bond, the longer your repair will last.
Now comes the secret weapon: stitching the top edge. This step separates a good repair from a great one. The top edge of the heel lining takes the most abuse, so reinforcing it with strong thread makes all the difference. Use a whip-stitch pattern, starting from the center and working outward. Don’t worry about making it look perfect – function trumps beauty here.
Allow proper curing time – this is where patience pays off. Depending on your glue, this could take anywhere from a few hours to 48 hours. Check the product instructions and resist the urge to test it too early. For more detailed guidance on perfecting this technique, check out our comprehensive guide on how to repair shoe heel lining.

Method 2: The No-Sew Moleskin Solution
Not everyone loves needlework, and that’s perfectly fine! Moleskin offers a fantastic no-sew solution that’s both quick and comfortable. This self-adhesive material was originally designed for blister prevention, making it perfect for shoe lining repairs.
Choose quality moleskin – it’s typically available in rolls or pre-cut sheets at pharmacies or outdoor stores. These products offer excellent quality and adhesion for this type of repair.
Cut your moleskin slightly larger than the damaged area. If you’re dealing with a curved or irregular shape, create a paper template first. This extra step ensures a perfect fit and professional-looking results.
After cleaning and preparing the surface (just like in Method 1), peel away the adhesive backing and carefully position the moleskin. Start at one edge and slowly work your way across, smoothing out any wrinkles or air bubbles as you go.
The beauty of moleskin is that it provides immediate comfort and extra padding. Your shoes will actually feel more comfortable than they did originally! This method works particularly well when the lining has worn thin but isn’t completely torn through.

Method 3: Quick Fixes for When You’re in a Pinch
Sometimes life doesn’t give you time for a proper repair. Maybe you’re heading out the door and suddenly notice that painful rubbing, or you’re traveling without your repair kit. These quick fixes won’t win any beauty contests, but they’ll stop the pain and get you through the day.
Duct tape is the ultimate emergency solution. Cut a piece to cover the worn area and press it down firmly. It’s not neat, but it works immediately. One resourceful person noted it’s “the easiest and quickest way to temporarily fix a shoe’s lining.” Just remember – this is strictly temporary.
Fabric bandages (not the plastic kind) work surprisingly well as emergency patches. They’re designed to stick to skin through movement and moisture, so they handle the inside of a shoe pretty well too. Plus, they offer a bit of cushioning.
For a slightly more robust temporary fix, try the packing tape layer method. Cut clear packing tape to cover the hole, extending past the damaged area. Smooth it down to create a protective base layer that reduces friction and prevents further damage. You can even apply a quick fabric patch over this with hot glue for a speedier repair.
These are temporary solutions designed to buy you time. They’ll get you through a day or even a week, but for real comfort and longevity, you’ll want to come back to Method 1 or 2 when you have a proper moment to do the job right.
Pro Tips for a Durable Repair and Prevention
Now that you’ve mastered the art of diy shoe lining repair, let’s make sure your hard work pays off in the long run. Nothing’s more frustrating than watching a perfectly good patch start peeling away after just a few weeks of wear.
Ensuring a Lasting diy shoe lining repair
The difference between a repair that lasts months versus one that fails in days often comes down to the finishing touches. Here’s what separates the pros from the amateurs:
Allow glue to cure completely – and we mean completely. I know it’s tempting to slip those shoes back on as soon as the patch looks dry, but resist! Most flexible shoe adhesives need a full 24 to 48 hours to reach their maximum bond strength. Think of it like letting a good stew simmer – rushing the process only leads to disappointment.
Smooth those edges like your comfort depends on it (because it does). Before your glue sets, take a moment to press down every edge of your patch. Any lifting corners are like little invitation cards for your socks to snag and pull. Run your finger around the entire perimeter to ensure everything lies flat.
Avoid thick patches that turn your shoe into a medieval torture device. While durability matters, a patch that’s too bulky creates new pressure points. Your foot will rebel against lumpy repairs, and you’ll end up with blisters in new places. A single layer of denim or a thin piece of moleskin usually does the trick perfectly.
Check for comfort before declaring victory. Once everything’s dry, slip on the shoe with a sock and take a few steps around the house. Does it feel natural? Any new rubbing spots? If something feels off, it’s better to adjust now than suffer through painful walks later.
The reinforcement stitching around the top edge is your secret weapon for long-lasting repairs. This is where most patches fail first, so that extra thread makes all the difference between a repair that lasts months versus years.
How to Prevent Heel Lining Wear in the Future
Prevention really is worth its weight in gold – or in this case, worth its weight in saved shoe repair time. A few simple habits can keep your heel linings intact for years longer.
Use a shoehorn – seriously, this little tool is a game-changer. It guides your foot smoothly into the shoe instead of letting your heel bulldoze through the lining. Even a basic plastic shoehorn from the dollar store can add months to your shoe’s life. As we’ve seen with repairs, using a shoehorn also prevents repair patches from rolling up at the edges.
Untie your laces properly instead of treating your shoes like slip-ons. Yes, it takes an extra ten seconds, but those ten seconds can save you hours of repair work later. One smart shoe owner told us they learned this lesson after destroying an expensive pair – now they religiously loosen their laces before removal.
Ensure correct shoe fit because shoes that are too loose or too tight both spell trouble. Loose shoes let your foot slide around, creating unnecessary friction. Tight shoes create pressure points that wear through linings faster. Get your feet measured occasionally – they do change over time.
Choose your sock material wisely. Smooth, moisture-wicking socks reduce friction compared to rough cotton or going sockless. Your heel lining will thank you for the gentler treatment.
At NuShoe, we’ve repaired over 5 million pairs of shoes since 1994, and we’ve noticed that customers who follow these prevention tips need repairs far less frequently. It’s all about treating your shoes with a little respect – they’ll return the favor by lasting much longer.
When to Call a Professional Cobbler
While diy shoe lining repair can work wonders for many worn-out shoes, sometimes your beloved footwear needs more than a home patch job. Knowing when to wave the white flag and call in a professional cobbler can actually save you money in the long run and prevent you from accidentally making things worse.
Think of it this way: you wouldn’t perform surgery on yourself, right? Well, some shoe repairs require the same level of precision and expertise.
Extensive damage is the first red flag. If your heel lining isn’t just worn but completely shredded, or if the heel counter (that stiff backing that gives your shoe structure) is falling apart, a simple patch won’t cut it. You need someone who can rebuild, not just cover up the problem.
Full lining replacement is another job for the pros. Replacing the entire interior of a shoe, especially in the toe area, requires completely dismantling the footwear. It’s like taking apart a complex puzzle – one wrong move and you might not get all the pieces back together correctly.
Got delicate materials or vintage boots? Tread carefully here. That expensive leather or those irreplaceable vintage work boots deserve expert hands. While some online forums might suggest these repairs are impossible, a skilled cobbler often has tricks up their sleeve that can surprise you.
Repairing leather linings is particularly tricky territory. While synthetic patches can work for fabric linings, matching and properly installing genuine leather requires specialized knowledge and tools. For detailed insights into this complex process, check out our guide on how to repair leather shoe lining.
The Difference a Master Cobbler Makes
At NuShoe, we’ve been perfecting the art of shoe renewal since 1994, breathing new life into over 5 million pairs of shoes. When you bring your footwear to a master cobbler, you’re not just getting a quick fix – you’re getting a complete restoration.
Hand-stitching makes all the difference. While your home sewing might get the job done, professional cobblers use techniques passed down through generations. Every stitch is placed with precision, creating repairs that are both incredibly strong and virtually invisible.
Professional reinforcement goes beyond what you can achieve at home. We don’t just slap on a patch and call it good. Instead, we assess the entire shoe structure, identifying weak points and adding hidden reinforcements that make your repair stronger than the original construction.
The durability factor is where professional work really shines. We use industrial-grade adhesives and materials that aren’t available to consumers. Our techniques are refined through decades of experience, meaning your shoes won’t just feel comfortable again – they’ll actually last longer than many brand-new pairs.

Complex repairs are where our expertise truly shows. From complete sole replacements to structural rebuilding, we can tackle problems that would leave even the most dedicated DIYer scratching their head. This level of craftsmanship is why national brands trust us with their exclusive repair programs.
When you consider how much you invested in quality footwear, professional repair often makes more financial sense than constantly replacing shoes. Plus, you’re making a sustainable choice by extending your shoes’ life and keeping them out of landfills – something we’re passionate about here in San Diego.
Conclusion: Step Forward with Confidence in Your Repaired Shoes
There’s something deeply satisfying about breathing new life into a beloved pair of shoes with your own two hands. DIY shoe lining repair goes beyond just saving a few dollars – it’s about making a sustainable choice that keeps cherished footwear out of landfills while giving you that wonderful sense of accomplishment that comes from fixing something yourself.
Throughout this guide, we’ve walked through everything from preparing your workspace to choosing the right materials. Whether you opted for the durable fabric patch method with its combination of flexible glue and reinforcing stitches, or you went with the quick convenience of self-adhesive moleskin, you now have the knowledge to tackle most heel lining problems.
Even those emergency fixes using duct tape or fabric plasters have their place – sometimes you just need to get through the day! The key is understanding which method works best for your specific situation and taking the time to do it right.
Remember those prevention tips we shared? Using a shoehorn and properly untying your laces might seem like small things, but they’ll save you countless hours of future repairs. It’s amazing how these simple habits can extend the life of your footwear significantly.
Of course, not every repair is a DIY project. When you’re dealing with extensive damage, delicate materials, or vintage boots that need special care, that’s when professional expertise makes all the difference. Complex repairs and full lining replacements require the skilled hands of a master cobbler who understands the intricate construction of quality footwear.
At NuShoe, we’ve been perfecting the art of shoe renewal since 1994, restoring over 5 million pairs of shoes to their former glory. If your favorite shoes need more than a patch – if they require the kind of comprehensive restoration that only comes from decades of experience – our expert renewal services can transform them completely.
Don’t let worn heel linings send your treasured footwear to an early grave. Whether you tackle the repair yourself or trust it to professionals, you’re making a choice that honors both your investment and our planet.