Why Your Cracked Leather Boots Deserve a Second Chance
Repairing cracked leather boots is not only possible but is often the best choice for preserving your investment and reducing waste. Here’s a quick overview:
- Light cracks: Clean thoroughly, apply leather conditioner, and buff with a horsehair brush.
- Deep cracks: Sand gently, fill with leather filler, smooth with a palette knife, let dry, and apply matching dye.
- Prevention: Condition every 3-6 months and store in cool, dry places away from direct sunlight.
- Tools needed: Horsehair brush, microfiber cloths, leather cleaner, conditioner, filler, and fine-grit sandpaper.
Leather is a natural material that contains oils and fibers. When these oils dry out from exposure to heat, sunlight, or neglect, the leather becomes brittle and cracks. The good news is that most cracks are preventable, and many can be successfully repaired at home.
Maintaining and repairing your boots extends their lifespan, keeps the leather supple, and prevents costly replacements. For environmentally conscious owners, repair is a sustainable choice that reduces waste and preserves craftsmanship.
I’m Eric Neuner, founder of NuShoe Inc, America’s finest shoe repair service since 1994. Having overseen the restoration of millions of pairs of footwear, I’ve seen how proper techniques for repairing cracked leather boots can transform worn boots into lasting investments. This guide will help you make informed decisions, whether you’re tackling light cracks or considering professional restoration.
Why Leather Cracks and How to Spot Early Signs
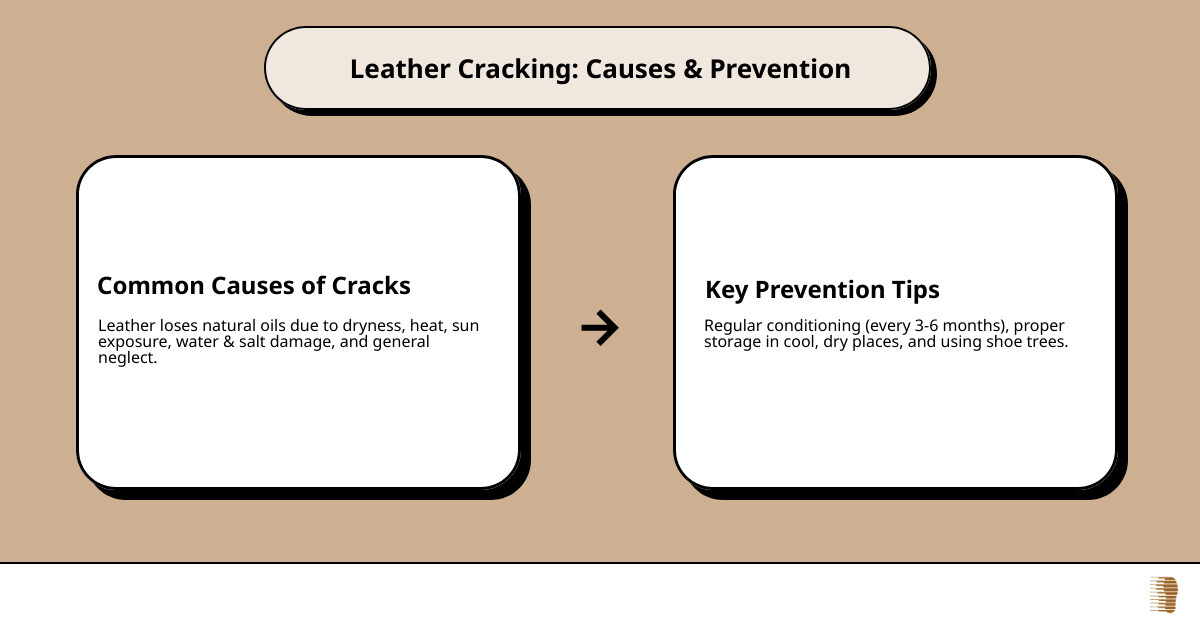
Think of leather like your skin—it needs moisture to stay healthy. When leather loses its natural oils, it becomes dry and brittle, eventually developing cracks. Leather dryness is the primary enemy of your boots, but the good news is that most cracking is preventable with the right care.
Environmental factors play a huge role. Sun exposure breaks down leather fibers and fades color, while water damage from prolonged wetness strips away essential oils. Salt stains are particularly damaging, as they draw moisture out of the leather, leaving behind white marks that signal deeper issues.
Common Causes of Cracked Leather
Understanding the cause is the first step to prevention.
- Dryness and Dehydration: When natural oils evaporate without being replaced through conditioning, leather fibers lose flexibility and break.
- Heat and Sunlight Exposure: Leaving boots near heat sources or in direct sunlight accelerates the drying process and breaks down the leather’s structure.
- Water and Salt Damage: Prolonged moisture strips away protective oils, and salt compounds the problem by actively pulling moisture from the leather.
- Age and Neglect: While age takes a toll, neglect speeds up the process. Boots that are never conditioned or stored properly will crack years sooner.
- Stress from Wear: Areas that flex repeatedly, like the toe box or ankle, can develop fatigue cracks even in well-maintained leather.
Identifying Cracks Before They Worsen
Catching problems early makes repairing cracked leather boots much easier. Look for these warning signs before obvious cracks appear.
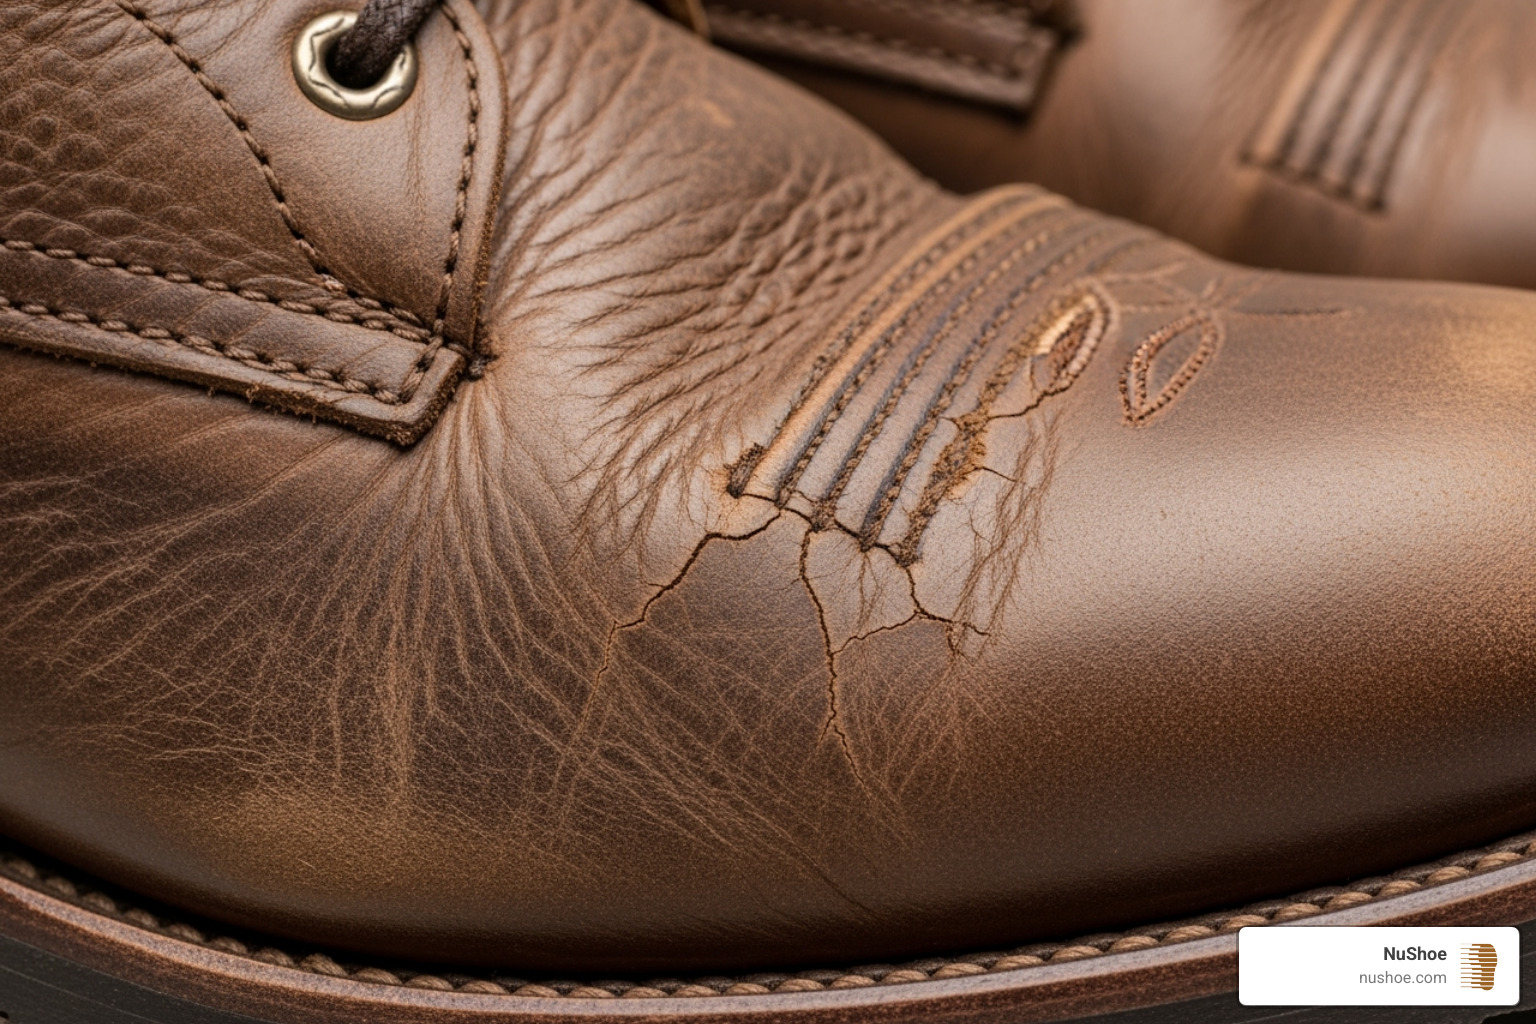
- Fine lines in creases: These hairline marks appear where boots naturally bend and are the first cry for moisture.
- Surface-level flaking: If the top layer starts peeling like sunburned skin, the leather is severely dehydrated.
- Changes in texture: Healthy leather is smooth and supple. If it becomes rough, stiff, or hard, cracks are likely imminent.
- Loss of suppleness: Leather that resists bending has lost the flexibility that keeps it from cracking.
- Color fading along flex points: Deteriorating leather can’t hold pigment properly. Lighter or duller areas are weak spots needing immediate attention.
Early intervention saves money and heartbreak. As we explain in our guide on refinishing leather, addressing these signs promptly can prevent minor issues from becoming major projects.
Your Essential Toolkit: Gathering Supplies for Leather Boot Repair
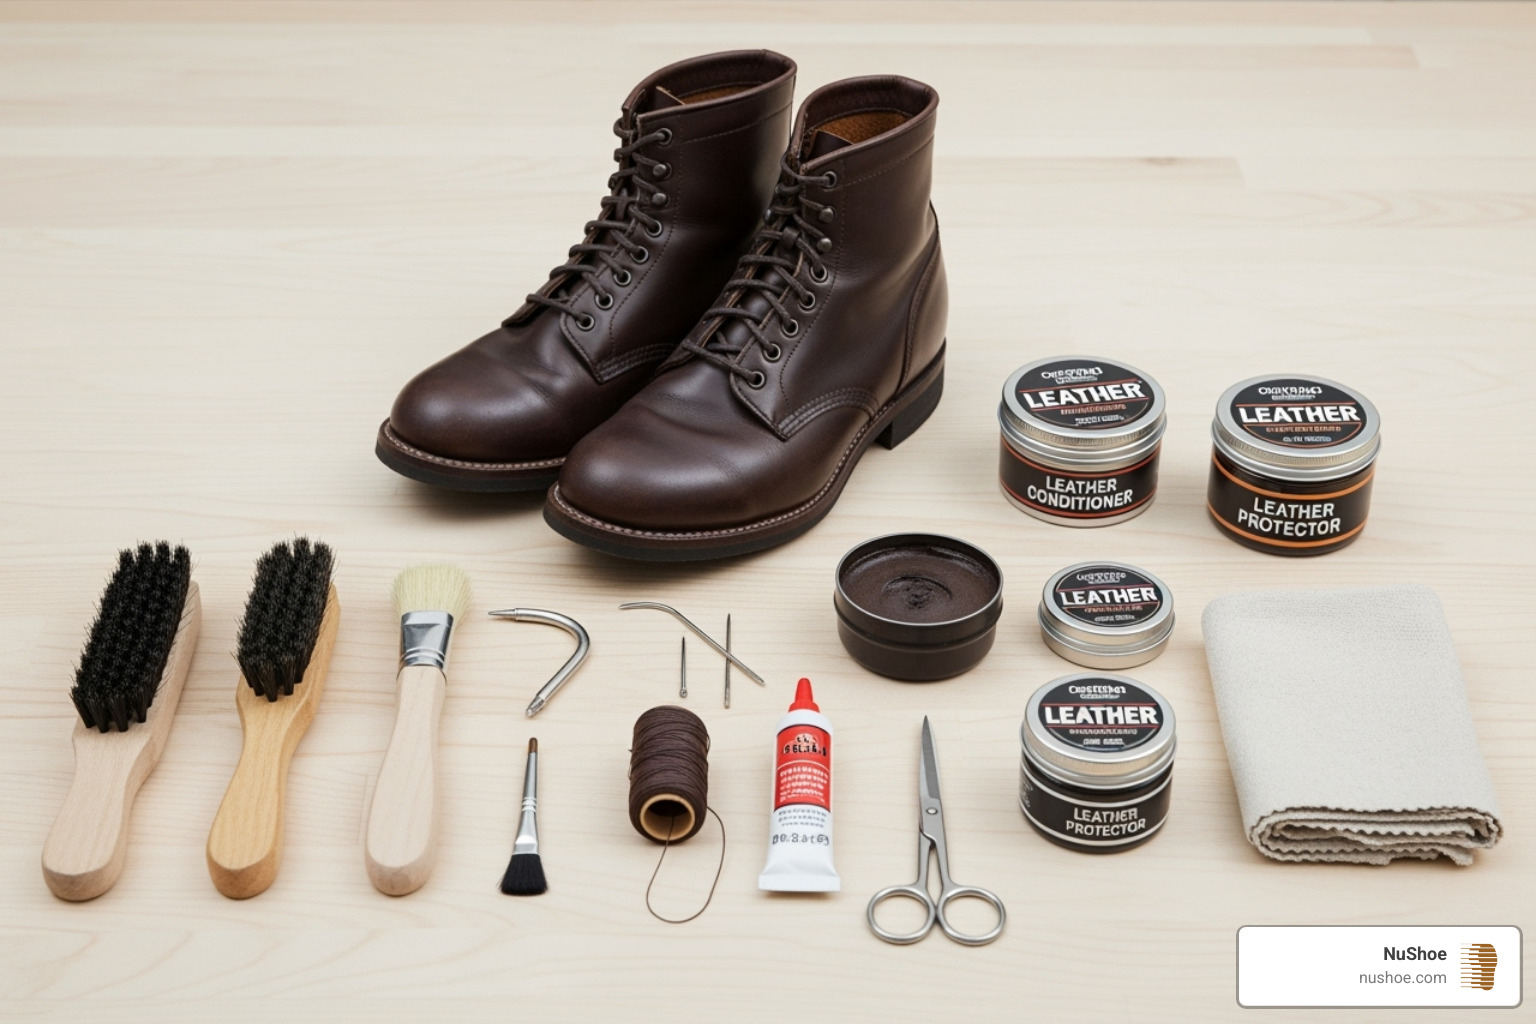
Repairing cracked leather boots is like any craftyou need the right tools for professional-looking results. Having a well-stocked toolkit makes all the difference.
Cleaning and Preparation Supplies
Before any repair, you need a clean surface. Dirt and old polish prevent new products from bonding with the leather.
- Horsehair brush: Gentle enough not to scratch leather, it’s effective for removing surface dirt and later for buffing.
- Microfiber cloths: These are lint-free and absorbent, perfect for applying cleaners and conditioners without leaving streaks. Have separate cloths for cleaning and conditioning.
- Leather cleaner: Use a quality cleaner designed for footwear. Avoid household soaps, which strip natural oils. Saddle soap is another excellent option for heavy soil.
- Rubbing alcohol: Helpful for removing old polish residue before applying fillers. Use it cautiously on a hidden area first, as it can be drying.
Repair and Conditioning Materials
These supplies will bring your cracked boots back to life.
- Leather conditioner: This is essential for replenishing the oils that keep leather supple and prevent future cracking.
- Leather oil: For severely dried-out boots, oils like mink or neatsfoot can penetrate deeply to restore flexibility. Be aware that oils can darken some leathers, so always test first.
- Leather filler or compound: This product fills deep cracks, creating a smooth base that blends with the surrounding leather. A palette knife helps with even application.
- Fine-grit sandpaper: Use a 600-800 grit to smooth crack edges and buff dried filler without damaging the leather.
Our Leather Shoe Care Kit includes many of these essential components, taking the guesswork out of choosing compatible products.
The Complete DIY Guide to Repairing Cracked Leather Boots
Now it’s time to give your boots the care they deserve. Before you begin, always clean the leather thoroughly and test any new product on a hidden spot, like under the tongue.
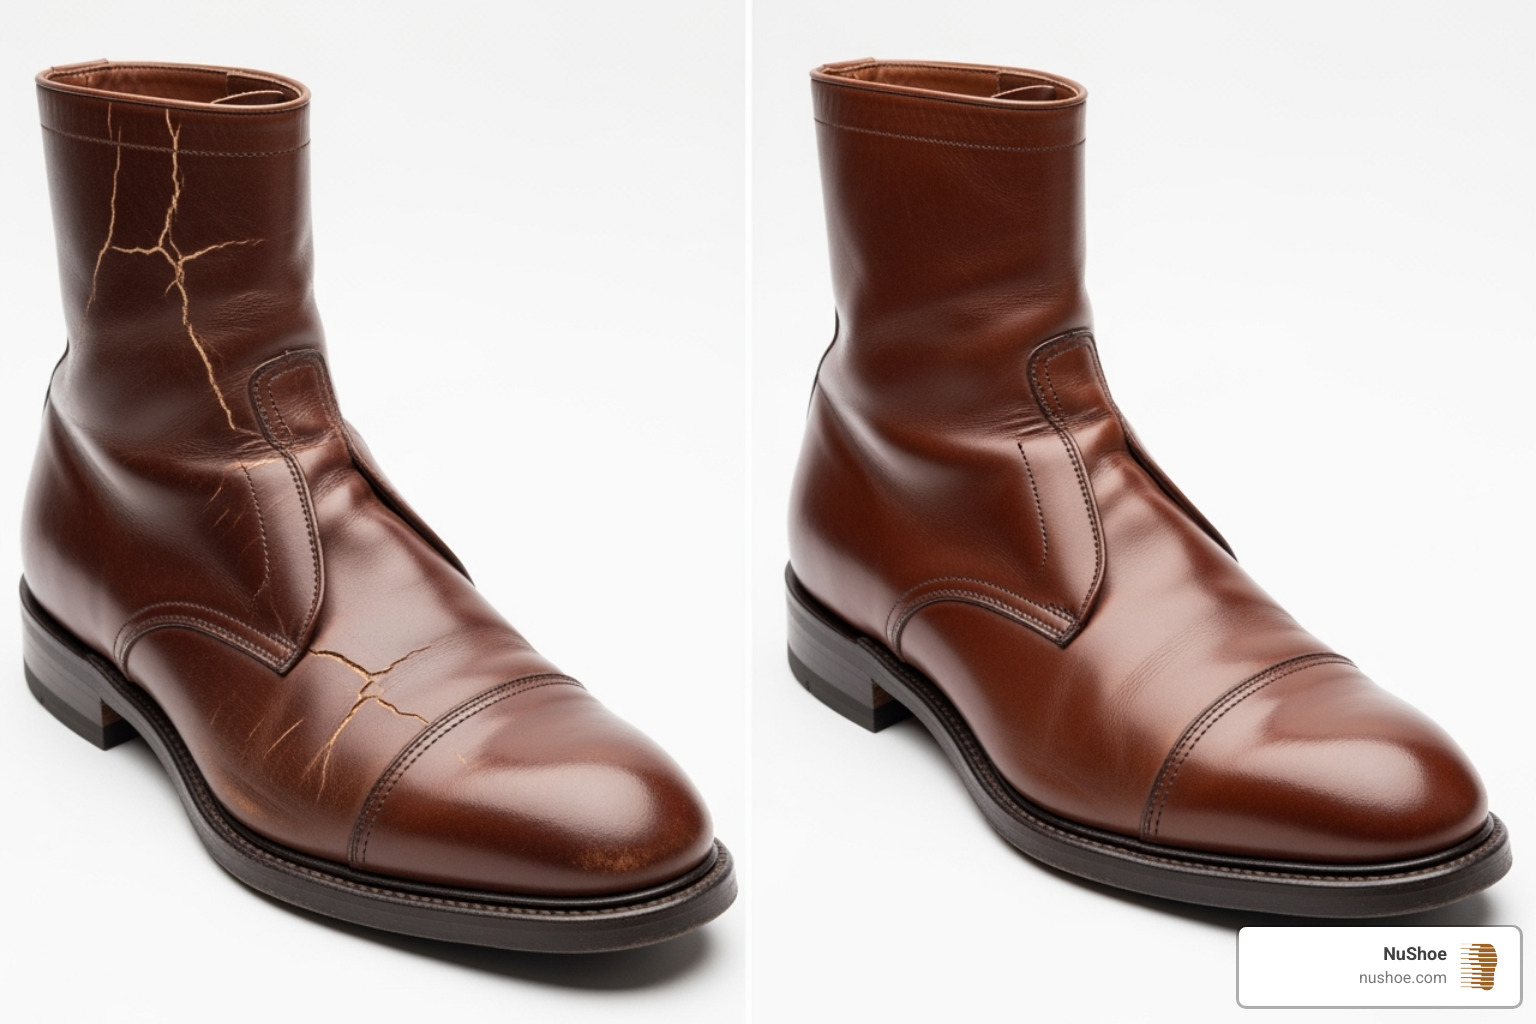
The approach depends on the severity of the damage. Light cracks need rehydration, while deep fissures require filling.
Step-by-Step Guide for Repairing Cracked Leather Boots with Light Cracks
This type of damage indicates thirsty leather and responds well to conditioning.
- Remove laces and brush: Take out the laces and use a horsehair brush to remove all surface dirt and dust.
- Clean the leather: Use a microfiber cloth dampened with leather cleaner to wipe the entire boot. Let it air dry completely.
- Apply conditioner: Put a small amount of leather conditioner on a clean cloth and work it into the cracked areas using gentle, circular motions.
- Let it absorb: Allow the conditioner to soak in for at least 15-20 minutes, or even overnight for very dry boots.
- Buff and repeat: Buff the entire boot with a horsehair brush to distribute the conditioner and create a natural sheen. If cracks are still visible, repeat the process.
This gentle approach is also effective for minor issues, as detailed in our guide on How to Repair Scuffed Leather Shoes.
Advanced Techniques for Repairing Cracked Leather Boots with Deep Fissures
Deep cracks are breaks in the leather that must be filled.
- Clean thoroughly: Follow the same cleaning steps as above (remove laces, brush, clean, and dry).
- Sand the area: Gently sand the crack with fine-grit sandpaper (600-800 grit) to smooth any rough edges. This creates a clean surface for the filler. Wipe away all dust.
- Apply leather filler: Use a palette knife to work a small amount of filler into the crack. Smooth the surface, scraping away excess so the filler is flush with the leather.
- Let the filler dry: Allow the filler to dry completely according to the product’s instructions (typically 2-4 hours for a full cure). For deep cracks, you may need a second thin layer.
- Sand again: Once dry, lightly sand the filled area again for a perfectly smooth, blended surface. Wipe away all dust.
- Match the color: If needed, apply a color-matched dye or cream in thin, even layers, allowing each to dry.
- Condition the boot: Finish by conditioning the entire boot to nourish the repaired area and restore overall flexibility.
For extensive color damage, our professional Leather Shoe Color Restoration service can achieve results that rival the original finish.
Beyond Repair: Prevention and Proper Maintenance
While we can help you with repairing cracked leather boots, preventing cracks in the first place is even better. Proactive care is key to the longevity of your boots.
How to Condition and Store Boots to Prevent Cracking
- Conditioning frequency (3-6 months): As a general rule, condition your boots every three to six months. If you live in a dry climate or your boots see heavy use, you may need to do it more often, perhaps monthly.
- Choosing the right conditioner: Always opt for a high-quality leather conditioner formulated for footwear to nourish the leather properly.
- Proper storage: How you store your boots is critical.
- Cool, dry place: Store boots in a temperature-stable environment, avoiding damp basements or hot attics.
- Avoid direct sunlight: Sun exposure will dry out and fade leather. Keep boots out of direct sunlight.
- Cedar shoe trees: These are a boot’s best friend. They help maintain shape, prevent deep creasing, and absorb moisture and odor.
- Dust bags: Use breathable dust bags for long-term storage to protect from dust, which can absorb the leather’s natural oils.
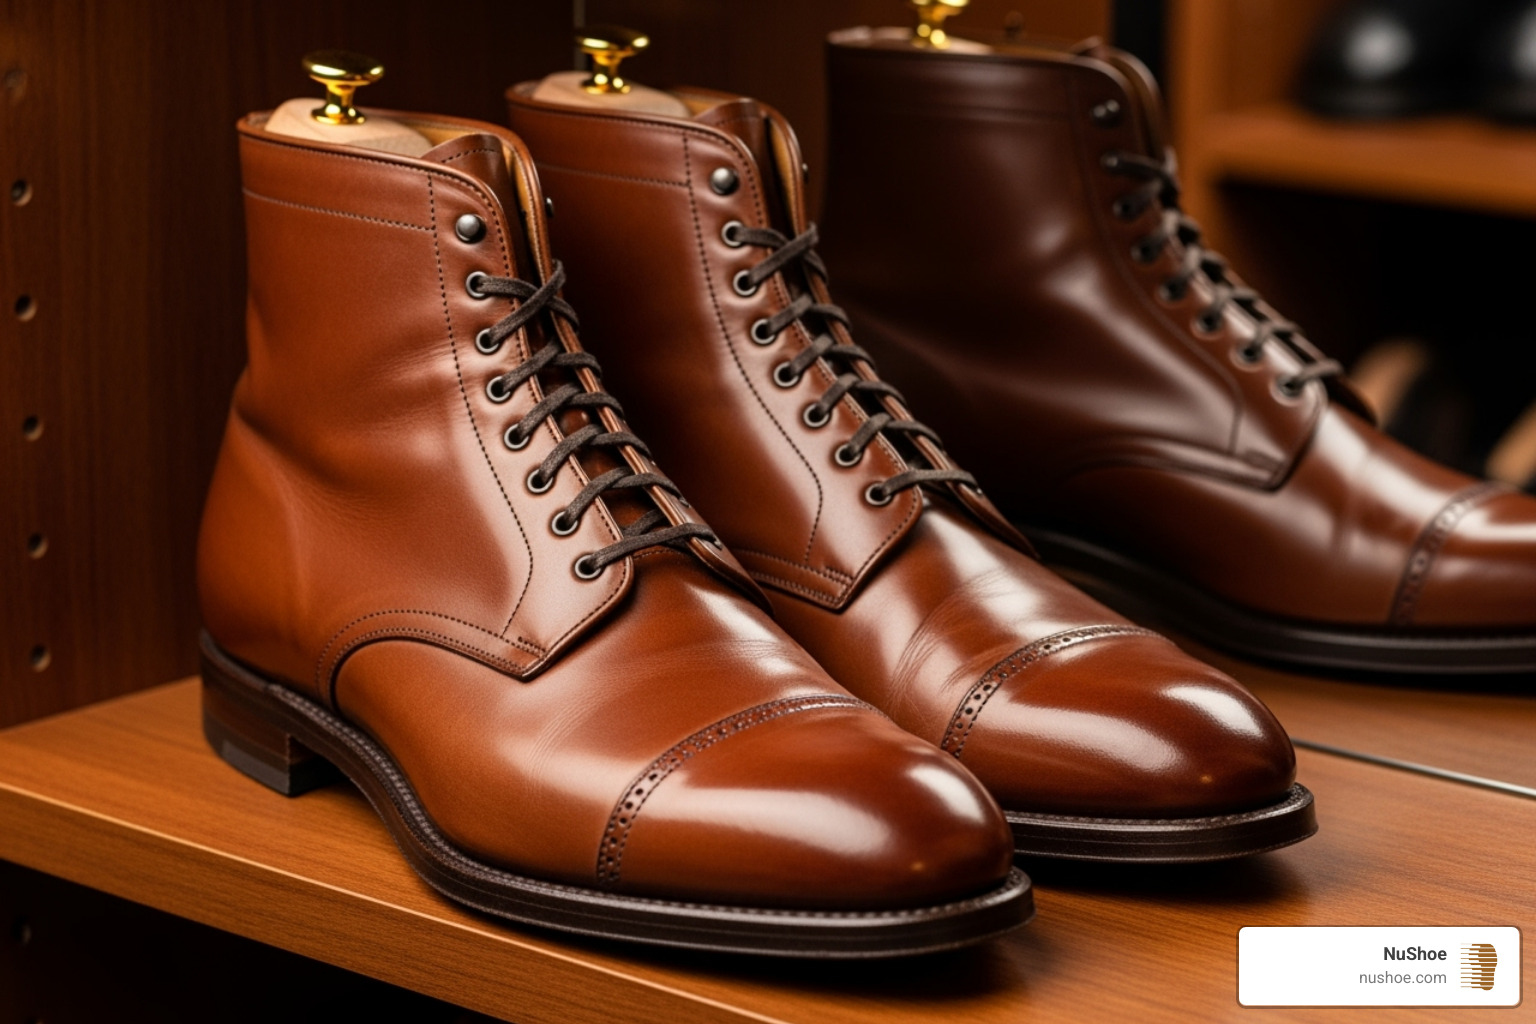
These practices, also found in our general Shoe Care Tips, are vital for extending the life of your footwear.
The Truth About Household Remedies
It can be tempting to use household items for a quick fix, but many do more harm than good. Here’s a comparison:
| Feature | Professional Leather Products (Conditioners, Fillers) | Household Items (e.g., Petroleum Jelly, Olive Oil) |
|---|---|---|
| Formulation | Specifically designed for leather; contain natural oils, waxes, and sometimes polymers. | Not designed for leather; may contain petroleum distillates, vegetable oils, or other compounds. |
| Absorption | Formulated for optimal penetration and nourishment of leather fibers. | May sit on the surface, attracting dust and grime, or may not be absorbed effectively by leather. |
| Nutrients | Provide essential nutrients and moisture to replenish leather’s natural properties. | Lack the specific nutrients leather needs; petroleum jelly is a lubricant, not a leather nutrient. Olive oil can go rancid and damage leather over time. |
| Residue | Designed to absorb cleanly, leaving a supple, non-greasy finish. | Often leave a greasy, sticky residue that attracts dirt, can clog leather pores, and may even lead to mold growth. |
| Long-term Effect | Extends leather’s lifespan, maintains flexibility, and prevents cracking. | Can accelerate degradation (e.g., rancidity from vegetable oils), attract damage, or have no lasting benefit for leather’s health. |
| Repair Efficacy | Effectively fills and blends cracks for lasting repair. | Offers no adhesive or filling properties for actual crack repair; might temporarily mask a light crack by making it shiny, but doesn’t fix the underlying issue. |
Why petroleum jelly is a poor choice: While it might seem like a quick fix, petroleum jelly is not a nutrient for leather. It sits on the surface, attracts dust, and can clog the leather’s pores, making future repairs more difficult. Stick to products specifically designed for leather care.
When to Call in the Experts: Professional Boot Repair
Sometimes, a DIY repair isn’t enough. When you’re facing severe damage, it’s time to call in the professionals. At NuShoe, we’ve specialized in handcrafted shoe renewal since 1994, restoring over 5 million pairs of shoes from our San Diego facility.
You should seek professional help for:
- Deep structural cracks that compromise the boot’s integrity.
- Splitting leather that goes through multiple layers.
- Sole separation where the sole is peeling away from the upper.
- Unsatisfactory DIY results that need a professional touch.
The benefits of working with a professional cobbler include decades of experience, industrial-grade materials, and techniques that can’t be replicated at home. Our renewal process makes your boots structurally sound for years to come.
We have particular expertise with many premium brands. We understand their unique construction and tailor our repairs to maintain the original quality and character. Every pair we repair is one less pair in a landfill, contributing to a more sustainable future.
Curious about our work? Learn about our leather shoe repair process to see how we give boots a new lease on life.
Frequently Asked Questions about Repairing Cracked Leather Boots
Over the years, we’ve helped countless boot lovers. Here are the questions we hear most often about repairing cracked leather boots.
How often should I condition my leather boots to prevent cracking?
The ideal frequency depends on your climate and wear. A good rule of thumb is every 3-6 months. However, if you wear their boots daily, expose them to harsh weather, or live in a dry climate, you should condition them more often, perhaps monthly. The leather will tell you when it’s thirsty—if it looks dull or feels stiff, it’s time.
Can all cracks be completely removed?
Light cracks can often be minimized to the point of near-invisibility with good conditioning, which plumps up the leather fibers. Deep cracks, however, represent broken leather fibers. While they can be expertly filled and repaired to restore the boot’s appearance and structural integrity, the damage cannot be completely erased. The goal is a durable, blended repair, not a factory-new look.
Can I use leather oil on all types of leather boots?
Leather oil, like mink or neatsfoot oil, is an excellent deep conditioning treatment for heavy-duty boots. However, be aware that oil can darken leather. Always test it on a small, hidden area first. Never use oil on suede or nubuck, as it will ruin the texture and leave stains. It is also ineffective on patent leather, as the coated surface won’t absorb it.
When we work on premium brand boots, we always select the appropriate treatment for the specific type of leather.
Conclusion
Repairing cracked leather boots is more than a simple fix; it’s a smart choice for your wallet, your style, and the planet. By extending the life of your footwear, you save money, reduce waste, and develop a pair of boots with unique character that only comes from well-maintained, quality leather.
With the right techniques for cleaning, conditioning, and filling cracks, your boots can last for years. We’ve given you the knowledge to handle many repairs yourself.
However, for damage that goes beyond a DIY fix—such as severe structural issues, splitting leather, or complex color restoration—our three decades of experience make all the difference. When your boots need a master craftsman’s touch, trust the experts.
Explore our complete leather shoe repair services and see how our handcrafted renewal process can give your beloved boots the professional attention they deserve.
